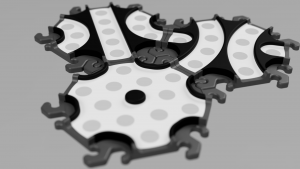
the history of hexpath
Hi, my name is Andrés Aristizábal and I’m the inventor of the HexPath board game. The story of how this project came about is a long and interesting one, so let me take you along as I recount the key moments of how it all came about.
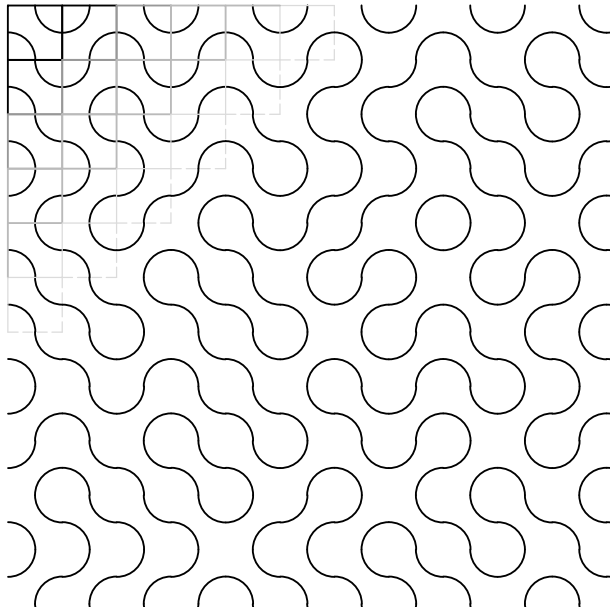
It all started back in 2006 when I came across some interesting patterns. They were all made using a single square with a couple of lines connecting the sides. This simple square, when tiled, starts creating a repeating pattern, and once you start rotating individual squares, the pattern grows more and more interesting and complex. These are Truchet patterns and my favorite is the Smith variation because it makes it look more organic.
Three years passed where all I did was play with the various patterns to make fun and interesting forms, it was nothing more than a little playful past time, but in 2009, a new member was added to our furry family. Ted, a white ferret, filled out home with fun. But, what does an animal have to do with anything?” you ask, well, Ted was the reason I decided to make more than just silly patterns with the Truchet tiles. You see, ferrets LOVE tunnels, but they also get bored of the same old tubes quite rapidly, so I started to think how cool it would be to be able to constantly change the tubes by making a small change. In other words, I wanted to make the Truchet tiles into cubes with tubes connecting the sides. That way, when I put many of them together, it would form a long tube which I could change by rotating one or more cubes. Fun, right?
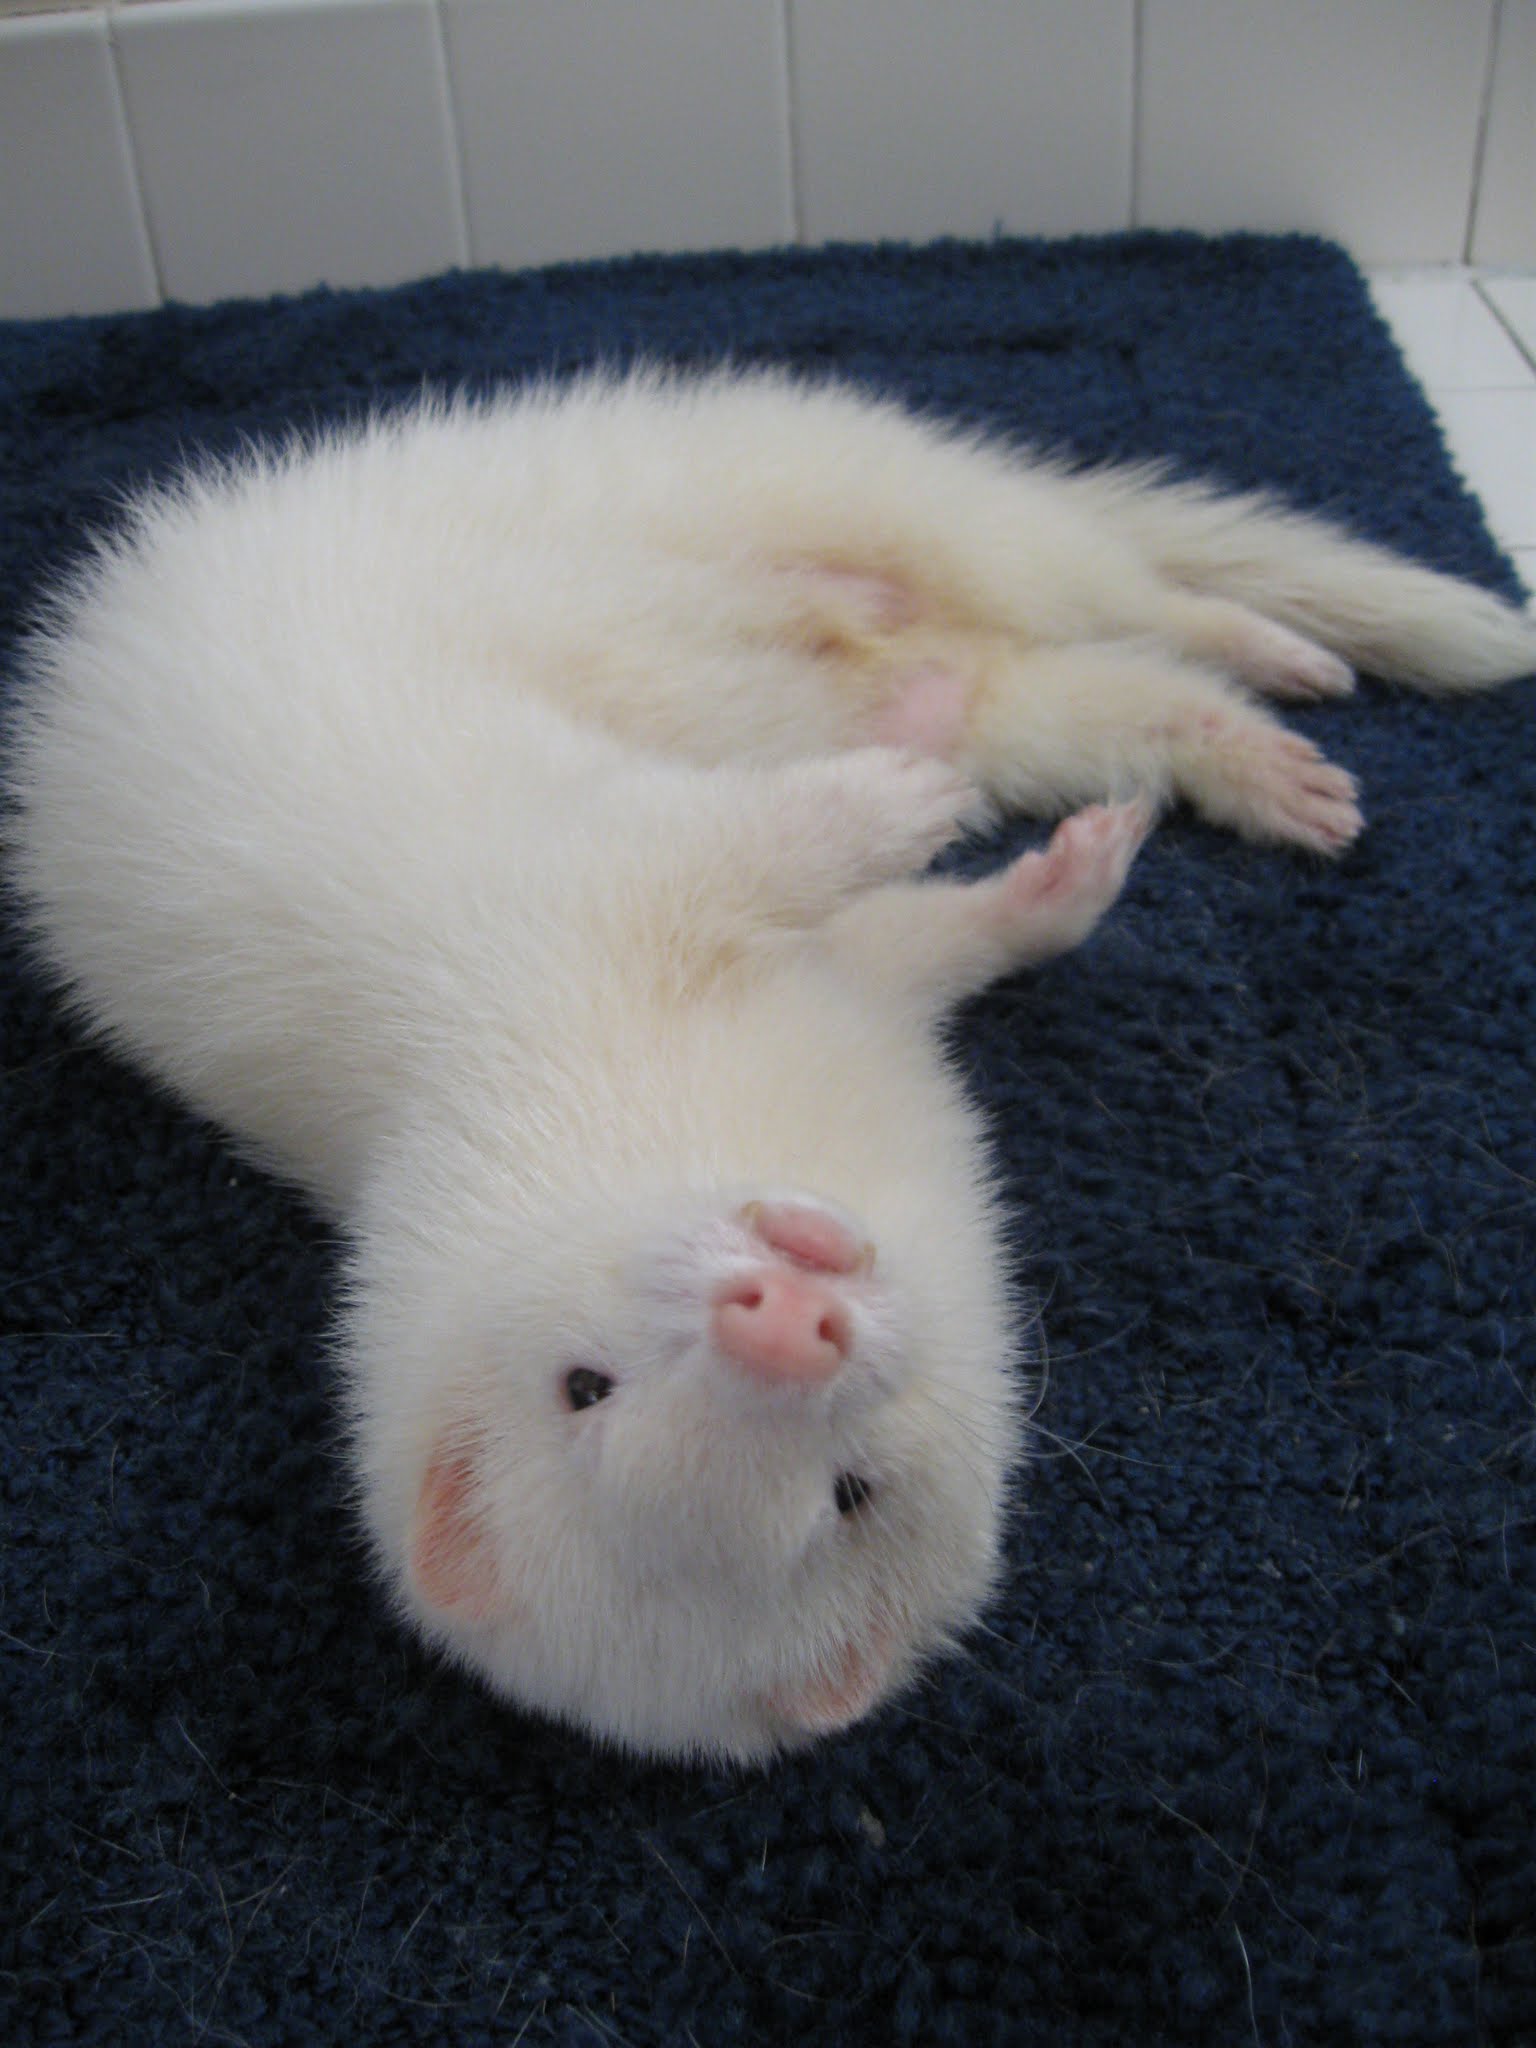
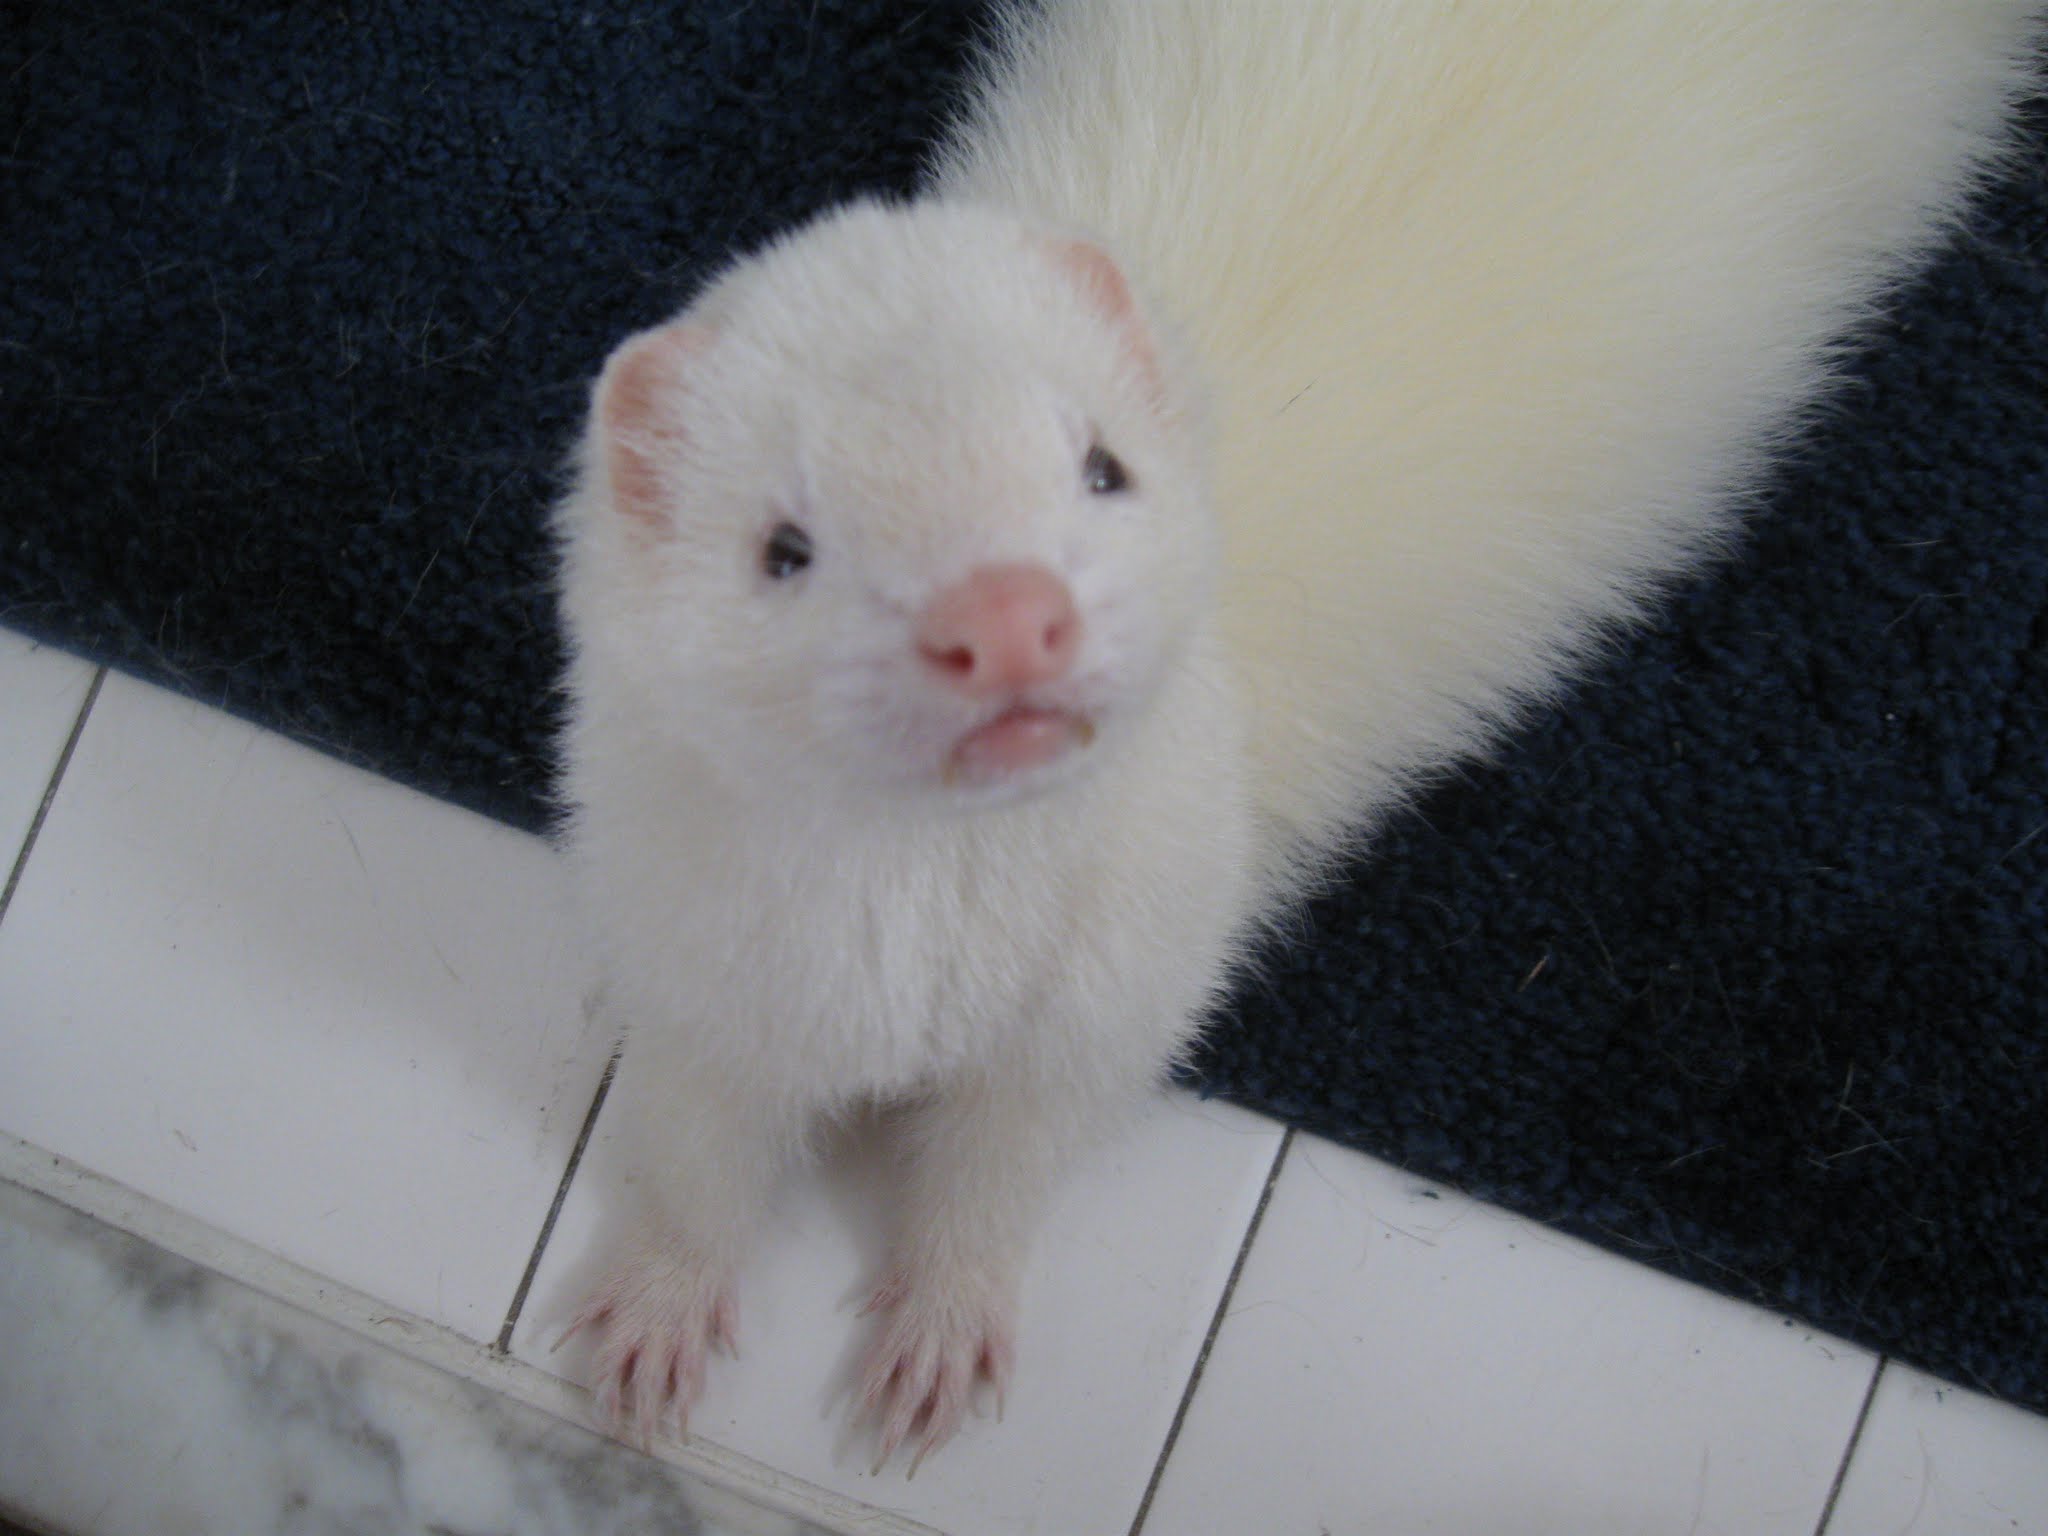
Sadly, Ted got sick and passed away only a few years and before I could get a working prototype. I had not even been able to finish a single cube! I was so sad and disillusioned that I didn’t even think about the project for a few months.
It could very well have ended there. I had not even been playing with the patterns as I used to. But, one day, I thought that if all ferrets love tunnels like Ted did, why not continue the project and work towards a working prototype to patent and sell. This idea of creating tunnels big enough for ferrets did not get very far, though. The size made it all very challenging and costly. I also lacked the right tools, materials, space, and most importantly, the time to dedicate to a project of that size. I decided, then, to shrink the design and cater to smaller pets like little rodents or even smaller for insects.
As I started generating sketches for this new variation I started looking for ways to make the cubes more interesting. Adding different configurations so that there would be more possible patterns. Some could even be intersections to connect two tunnels together. Others could have dead ends instead. As I was working on these ideas I realized that boxes only have 4 sides, unless you decide to go multilevel, which I was not ready to consider since the idea was to always have access to the boxes for easy replace, easy rotate, easy clean. What could I do?
A common shape in nature saves the day
I cannot remember how long it took me to come to the breakthrough realization that I could use Hexagons instead of squares!!! By having two additional sides to work with, I could increase the options of connected tunnels quite a bit. So I put all my sketches for square tiles away and began a new chapter.


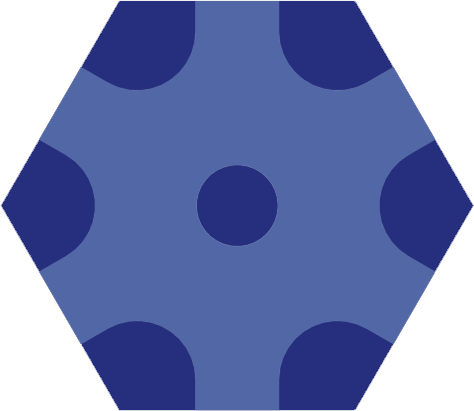

It was around this time that my family and I wanted to have a Colombian party. We wanted to invite friends and family that enjoyed the Colombian culture. It was supposed to be a day full of Colombian food, “música pa’ planchar” (old romantic Latin music), and games that we used to play back in the day. For that day, I wanted to use my idea for the hexagonal tiles with tunnels to create a variation of a game we call “Vuelta a Colombia” (lap around Colombia) which is normally played by pushing either a cap or a marble along a path. So I designed the tiles with open paths to allow the players to push the marbles along. It was going to be so much fun!
Unfortunately the party idea fell through due to weather, it is Florida, after all. But the idea stuck with me. I thought it would be a lot more fun and practical to convert the tunnels into paths on tiles and make a table-top game out of it.
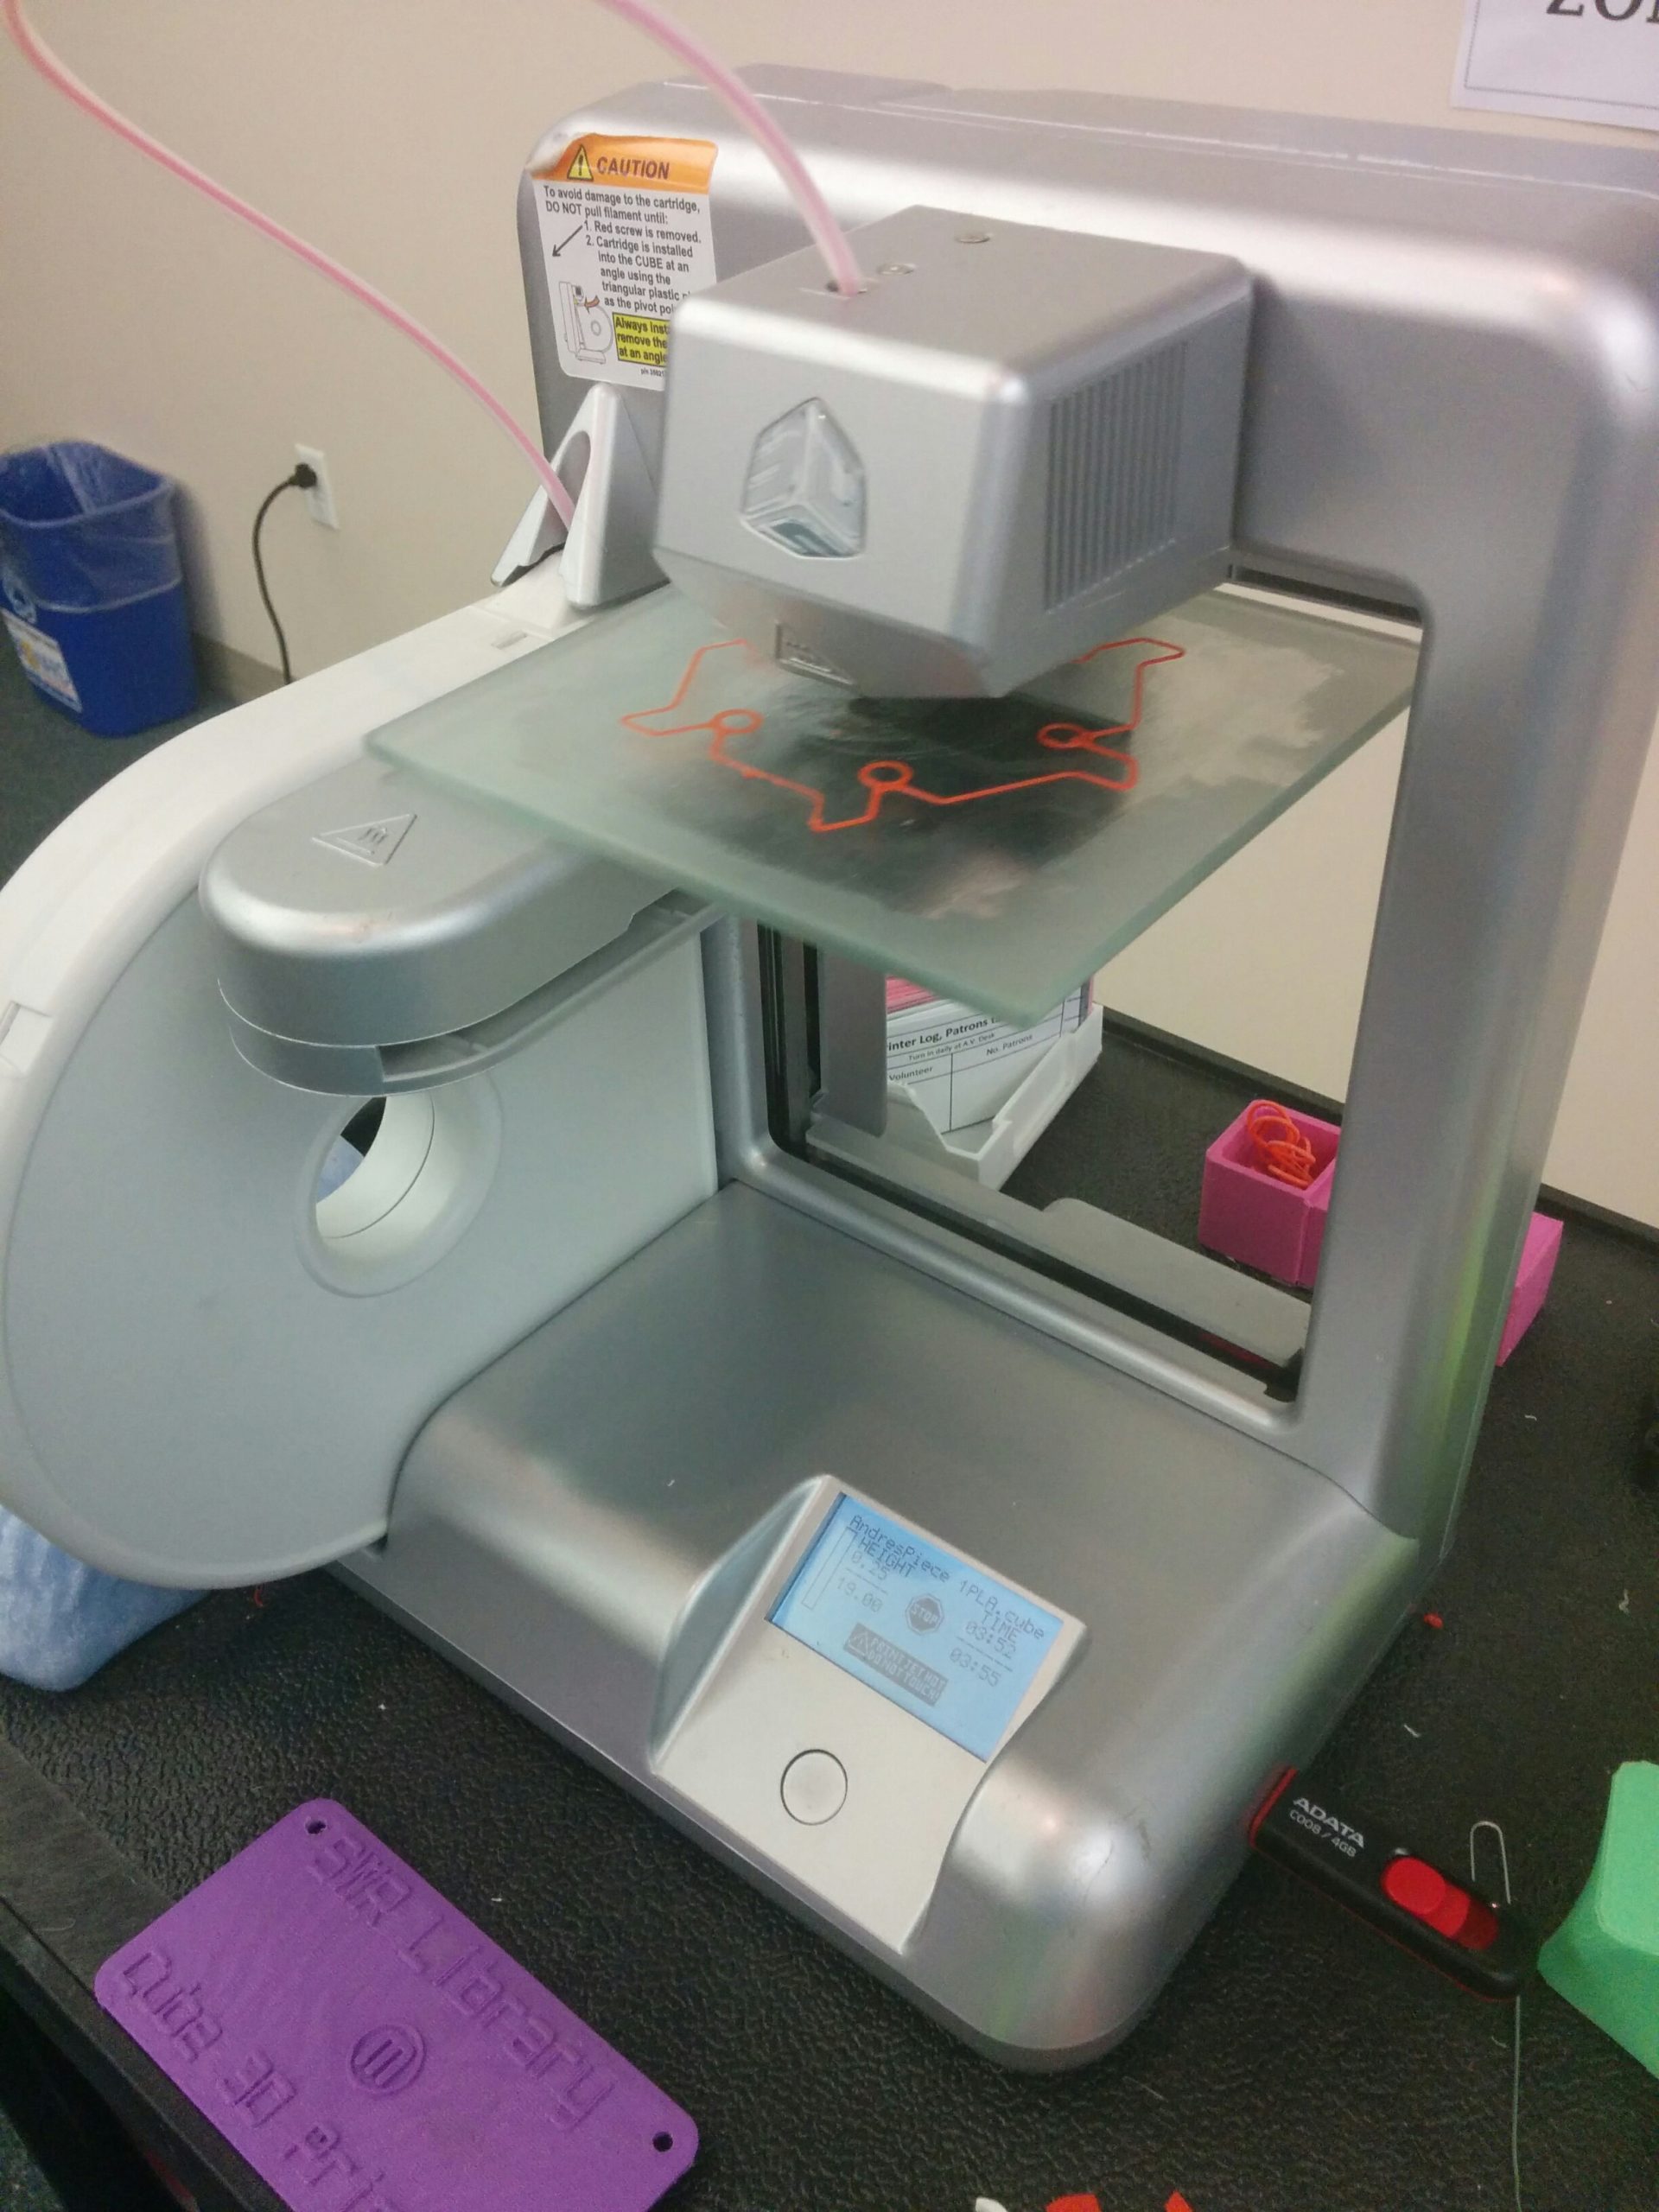
Having a lot of experience using CAD software, I created 3D models of the tiles. I decided to only create three different ones to keep things simple. The problem back then was that 3D printers were not very popular. The only way I could print my pieces was going to the regional library which had a single 3D printer. It took forever to get it printed, and since it was a relatively new technology, the staff were not very familiar on how to use it, so the quality of the prints was horrible. It was only good for showing kids the technology. I had to find other options.
I searched for water cutting, laser cutting, and CNC machining services around my area, and came across Moonlighter, a maker space that offered laser cutting as well as CNC machining and, to my delight, 3D printers!
It was a great place to bring my ideas to life.
If you want to learn more about Moonlighter, click here
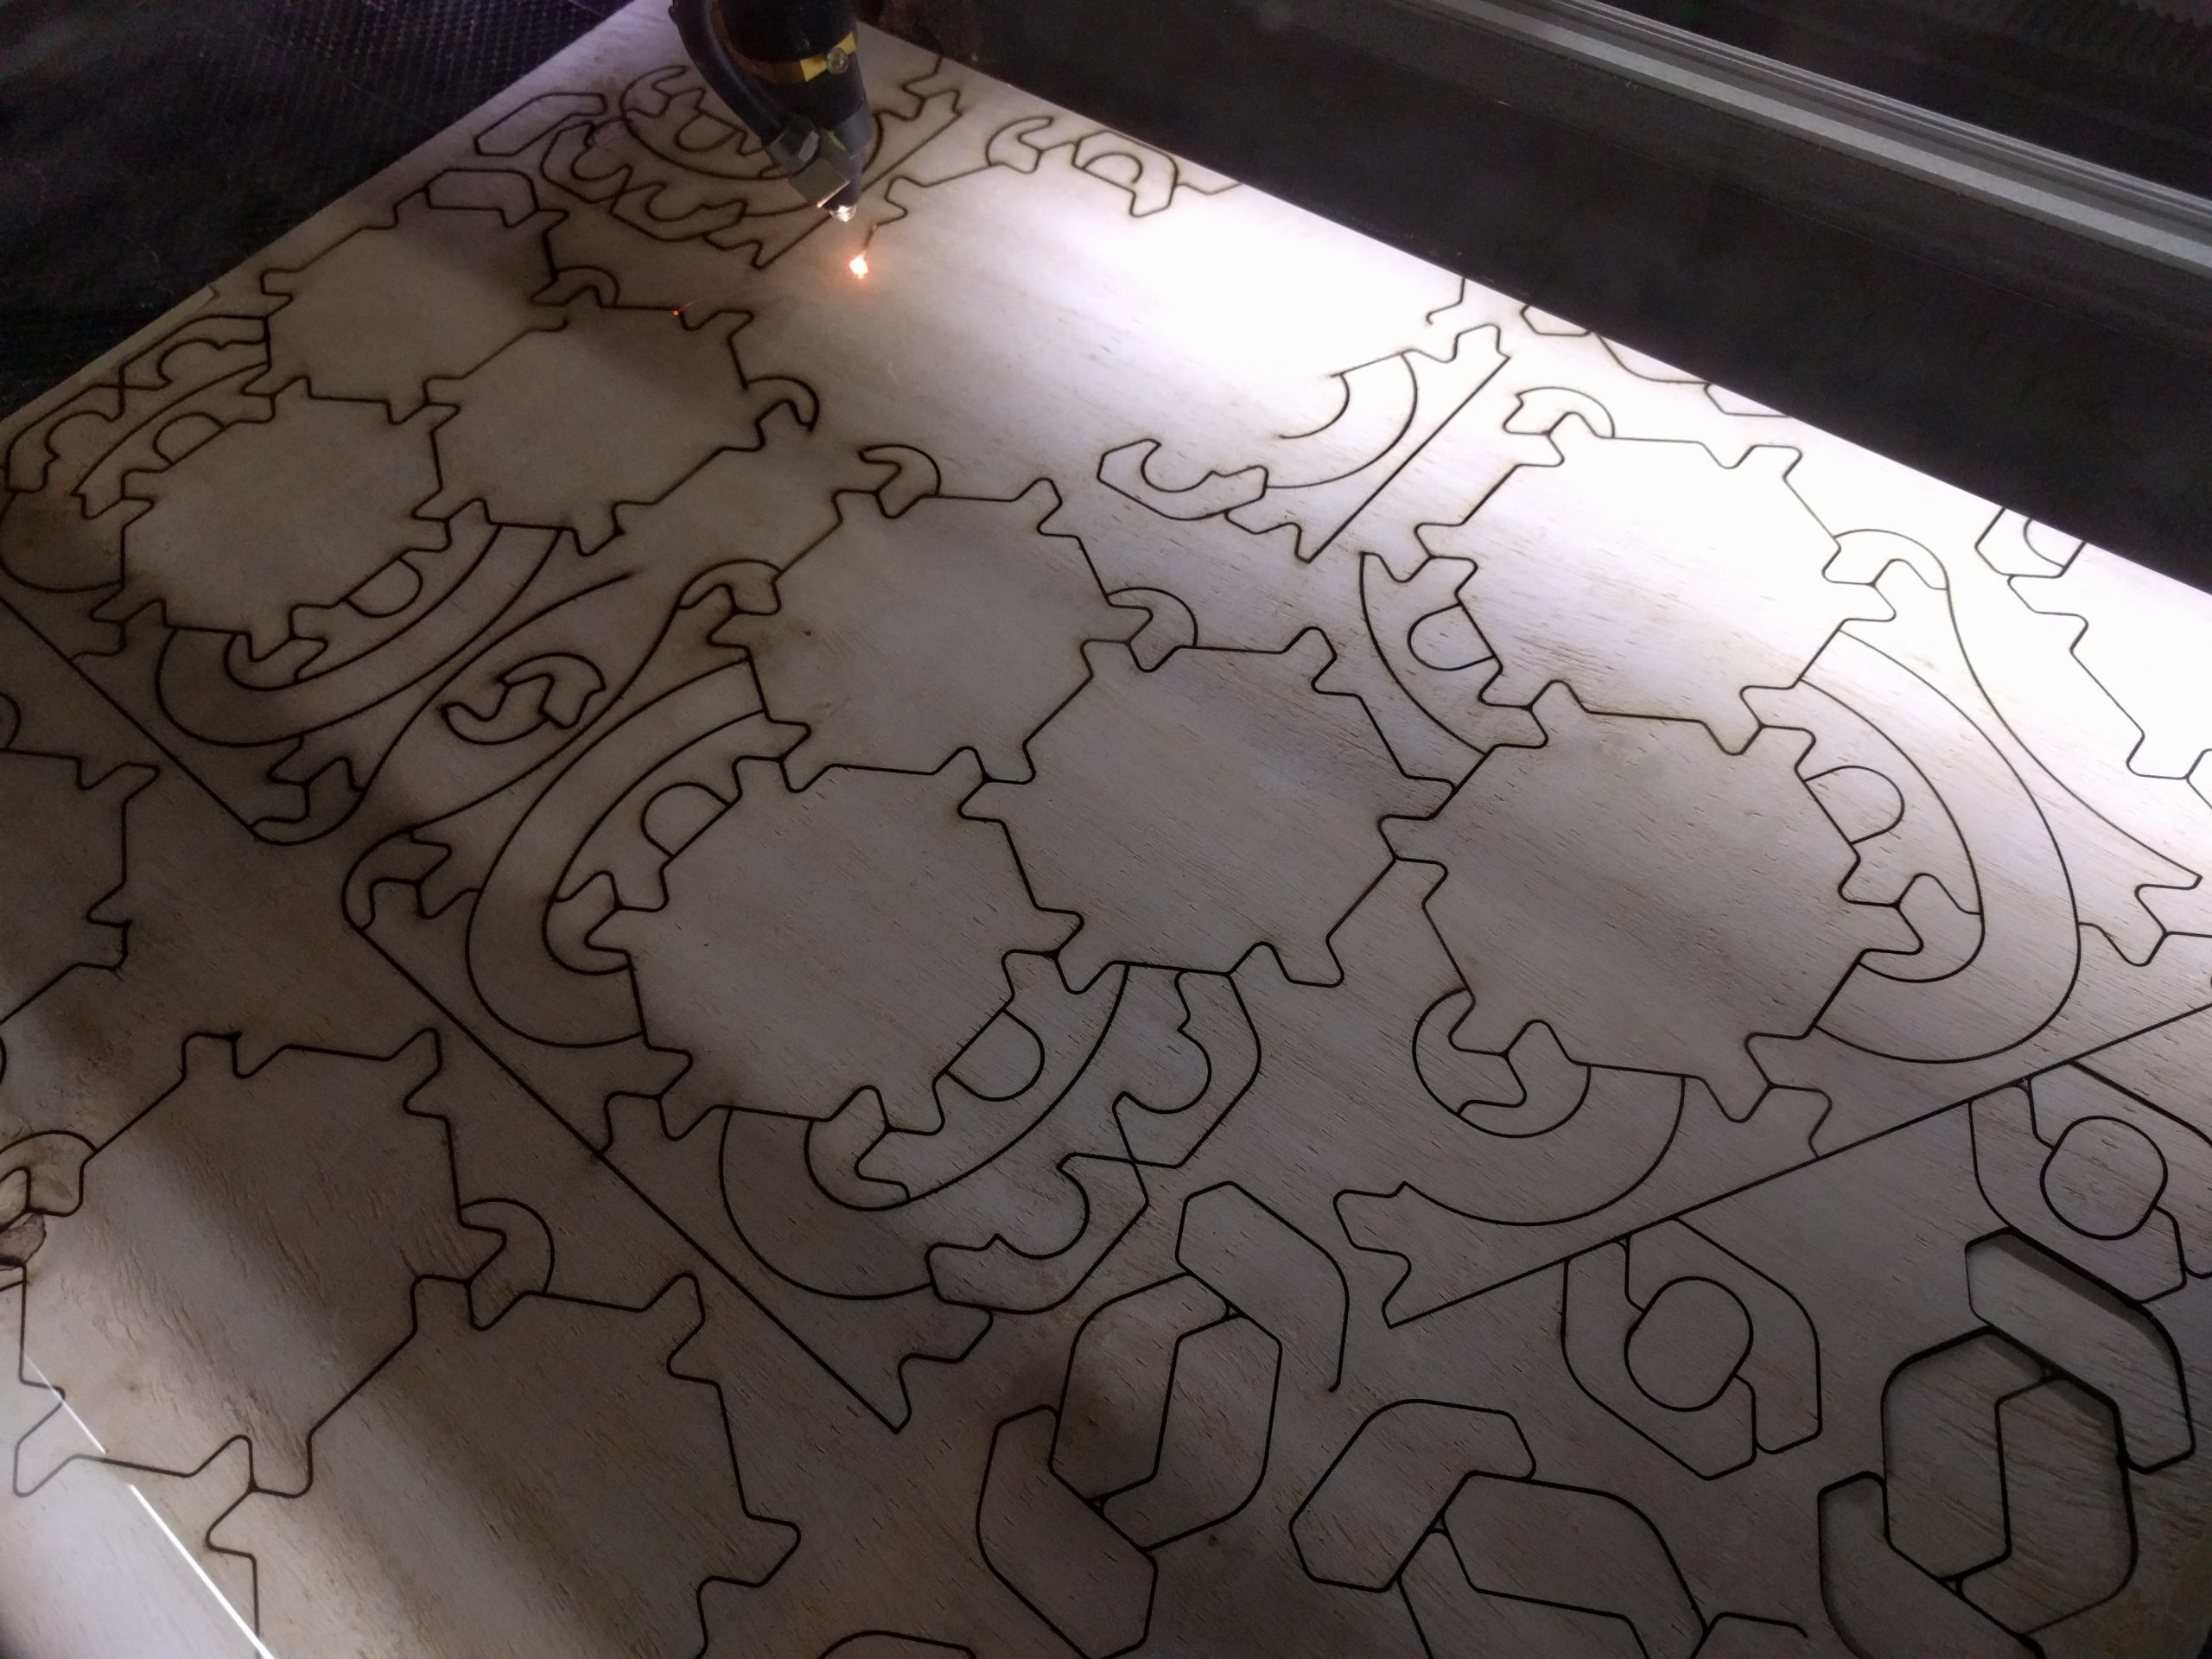
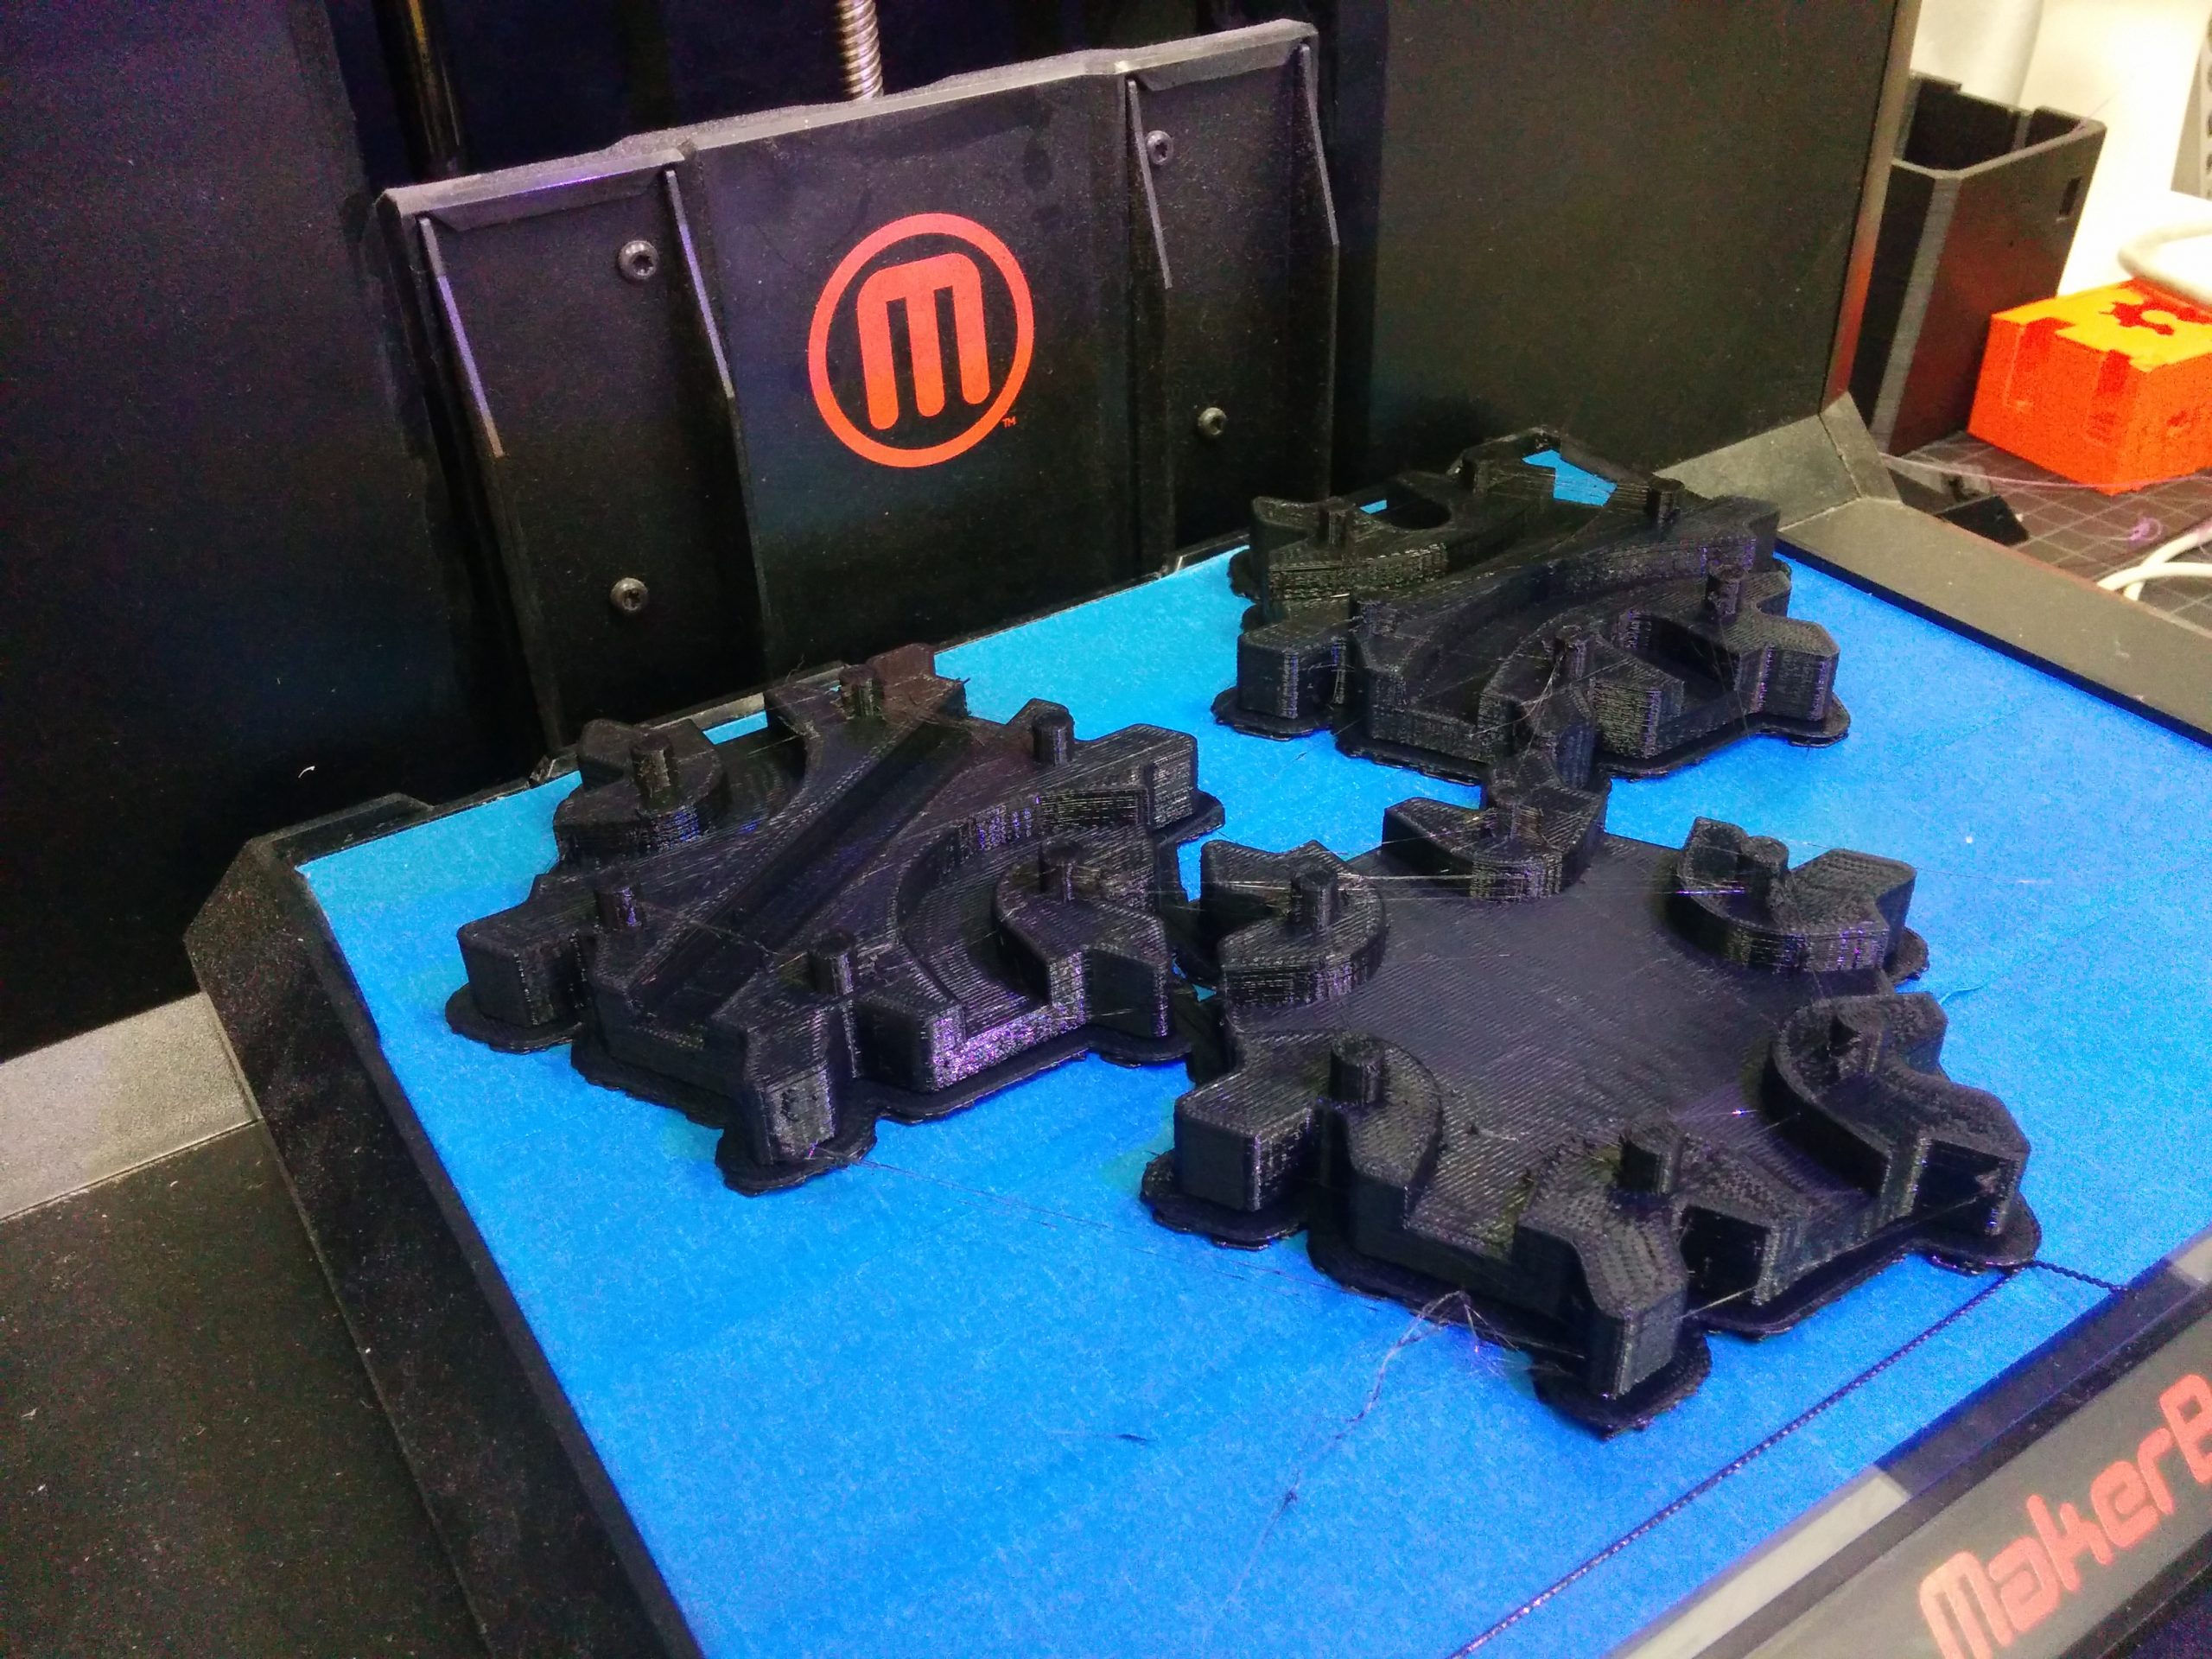
I ended up using a few of their services, but the one I came to enjoy the most was the 3D printers. They were relatively easy to work with and allowed for single pieces to be printed at a time which was great for iterating on the prototype.
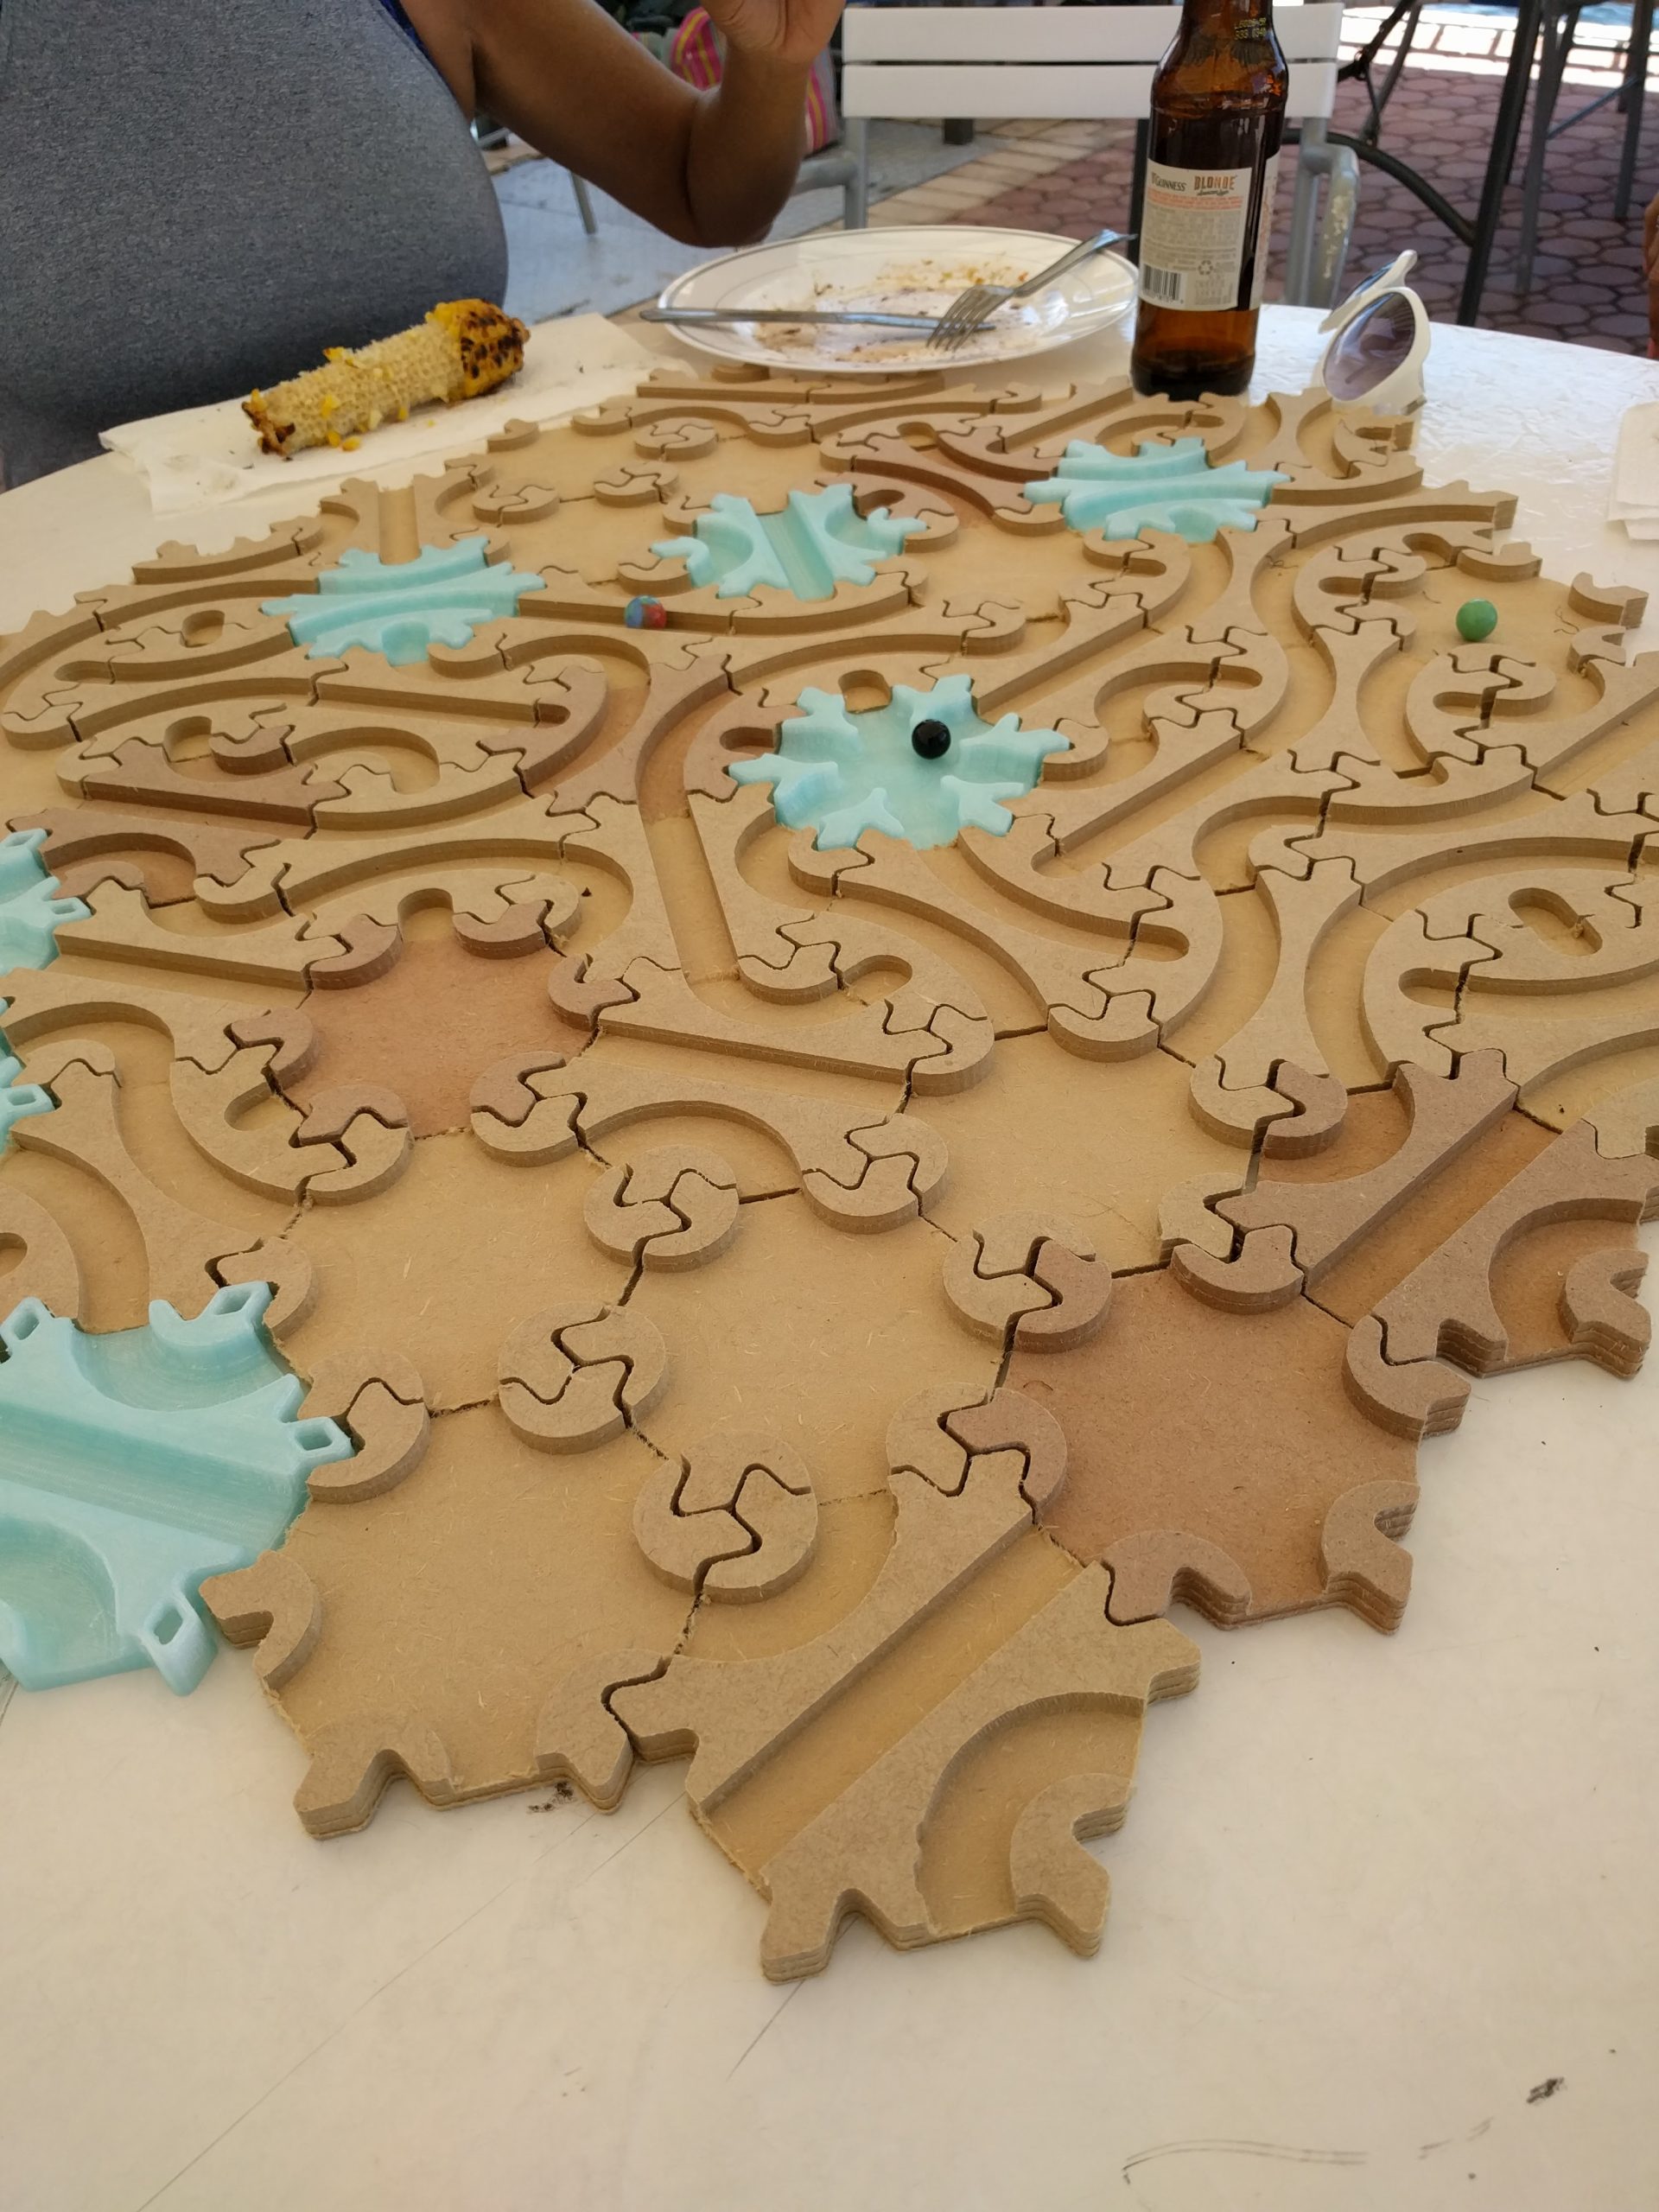
The first full prototype was made of both 3D printed and CNC machined tiles. It wasn’t the best looking game, but it served as a great proof of concept. We enjoyed it for many hours and I got great feedback from friends and family that got to play it. It pushed me to keep fine tuning the design.
Divided we conquer
The modular design was working great, but the tiles moved too much during gameplay, and since the main aspect of the game is to lift and rotate the tiles constantly, that became a problem. I needed to find a way to make them stay together yet allow for easy rotation. I chose to separate the interlocking frame from the rotating tile.
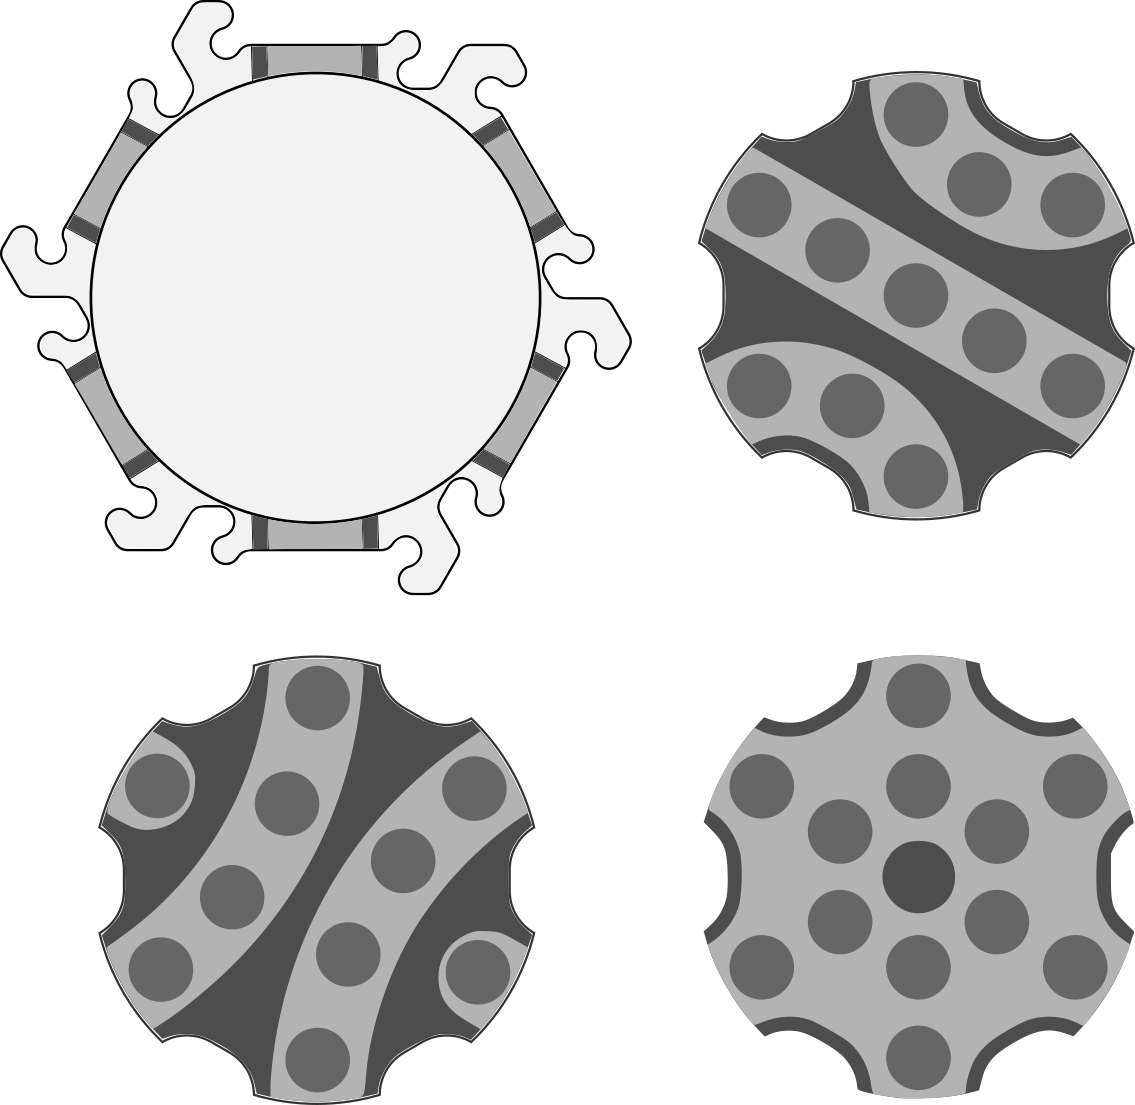
I also decided to change the design so the tiles could only be rotated clockwise and added stops along the paths to allow the use of pawns and dice.
Everyone loved the changes!
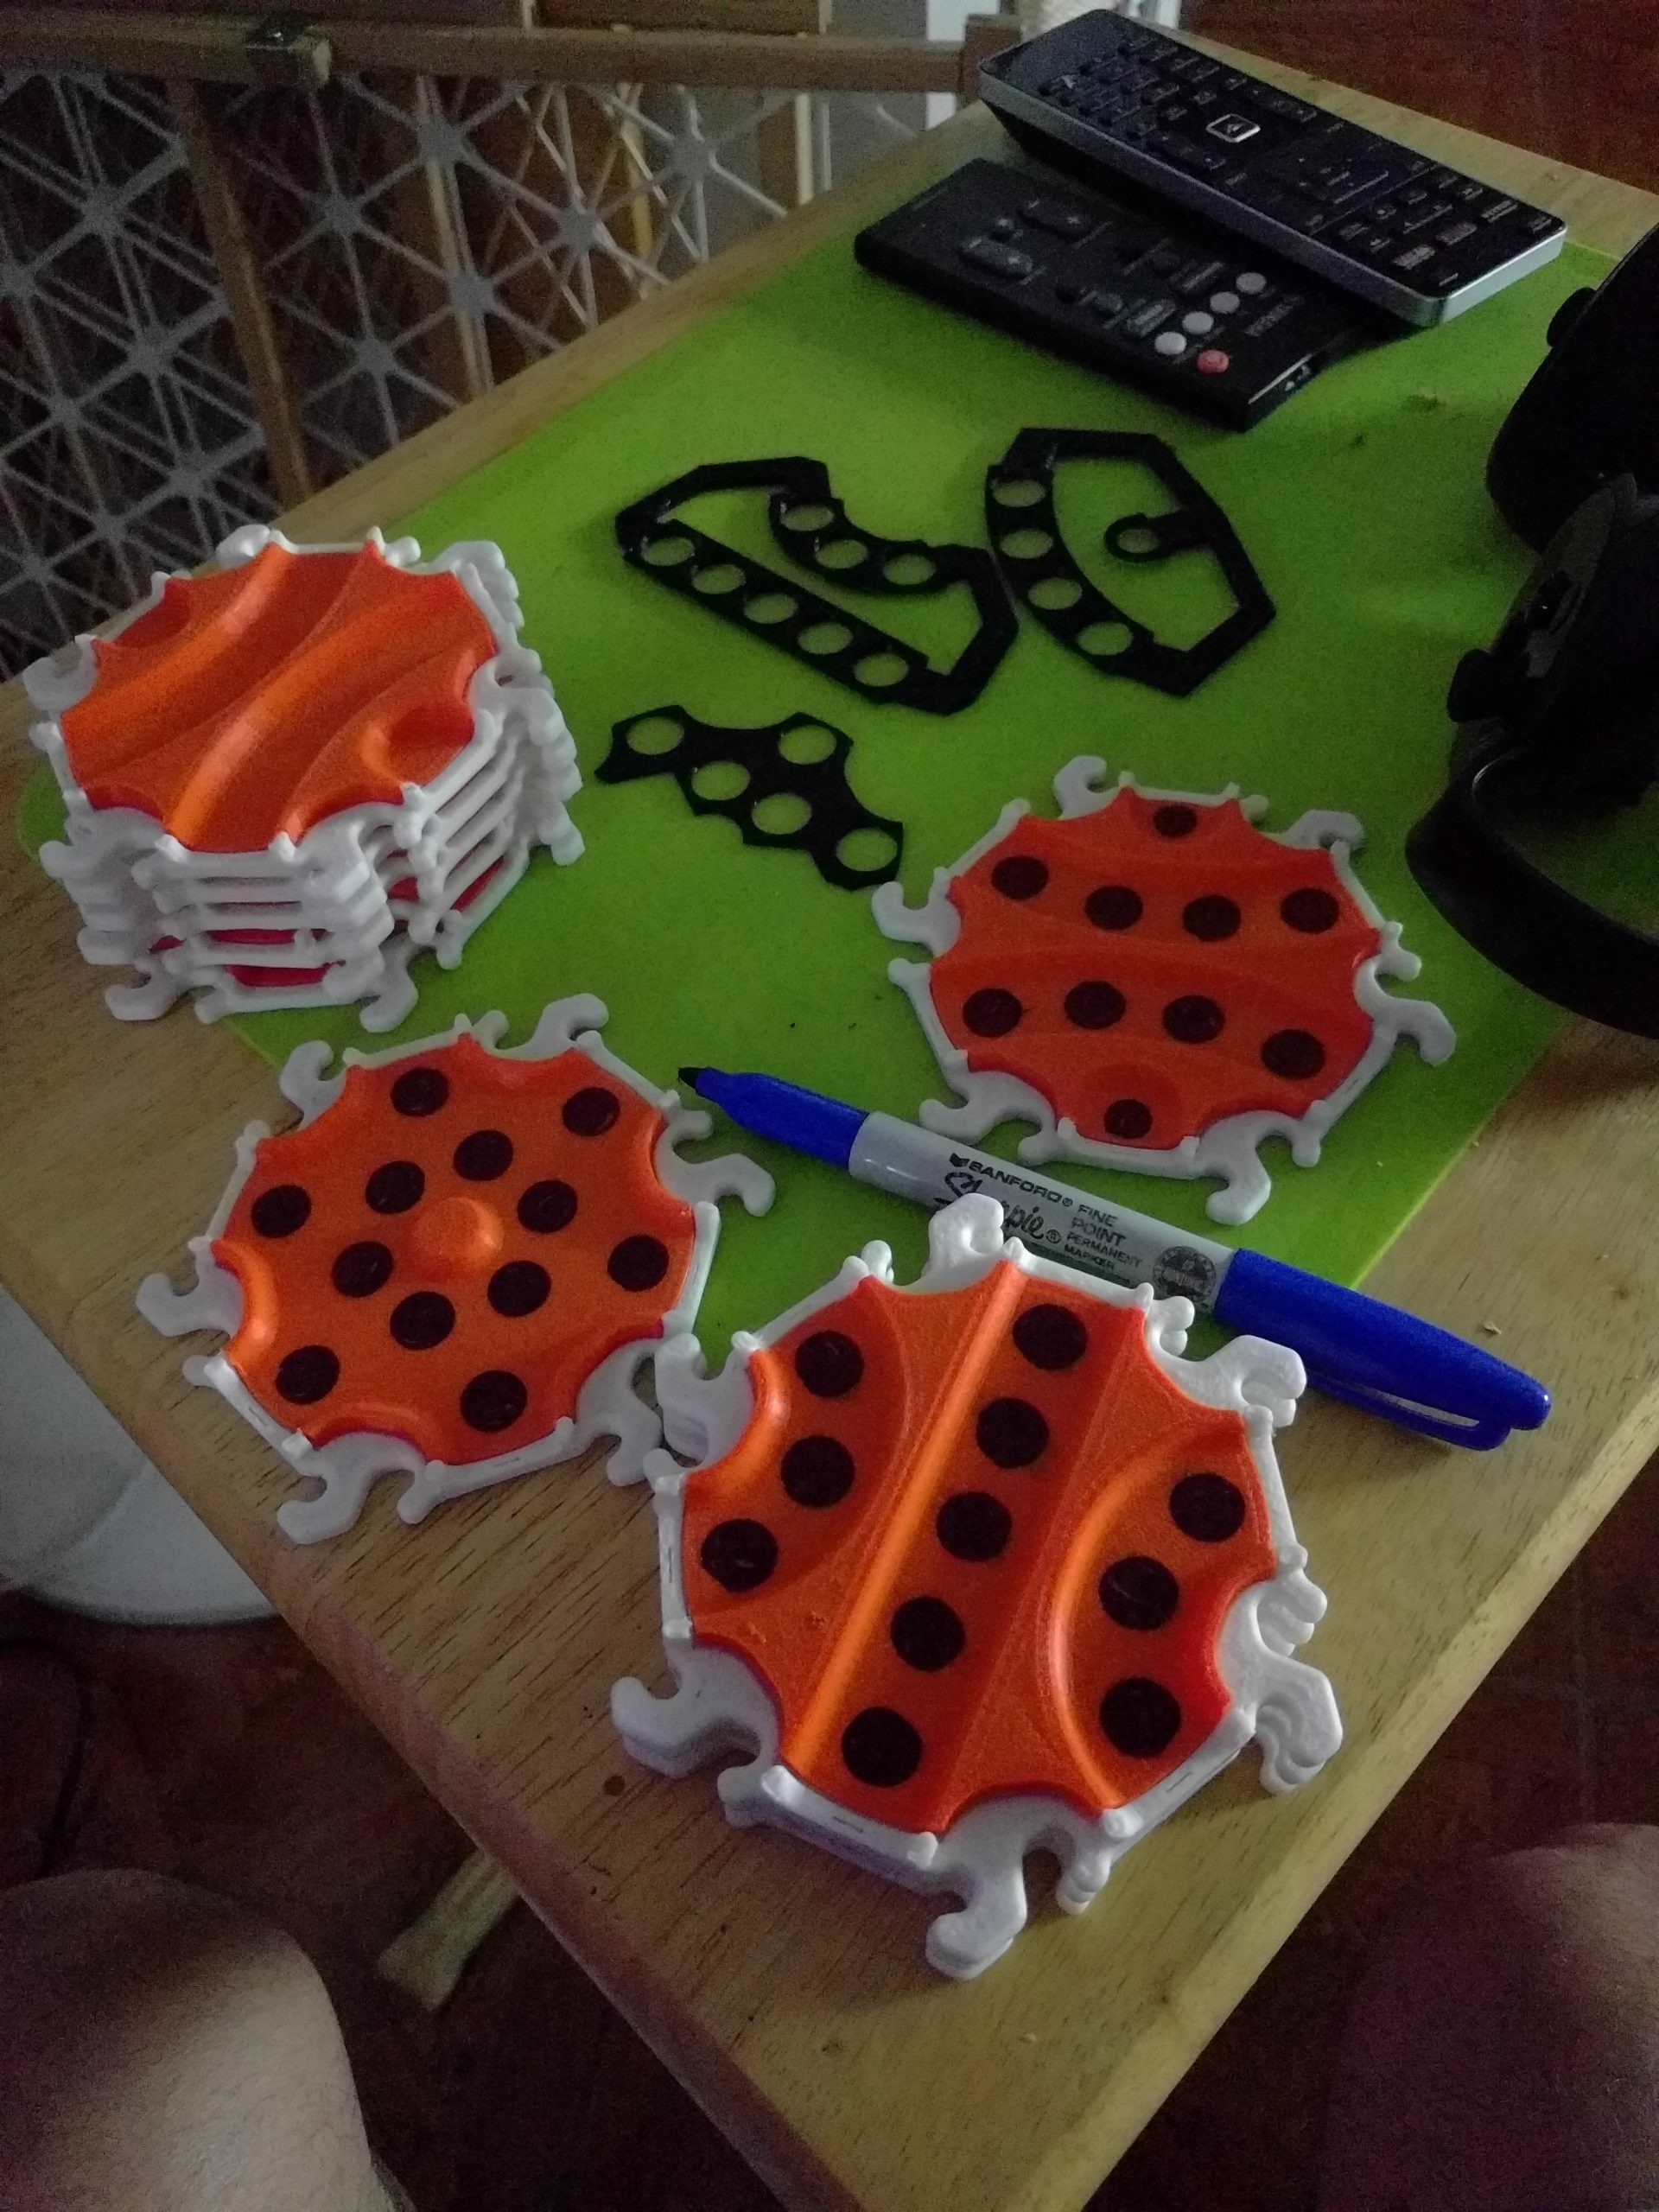
I was iterating so much I decided to purchase my own 3D printer. I could now design and print at any time in the comfort of my own home.
It was single color, though, so I had to add the stops by hand.
And it took forever to print a single piece.
Very quickly we realized that it was hard to follow the paths with the stops alone.
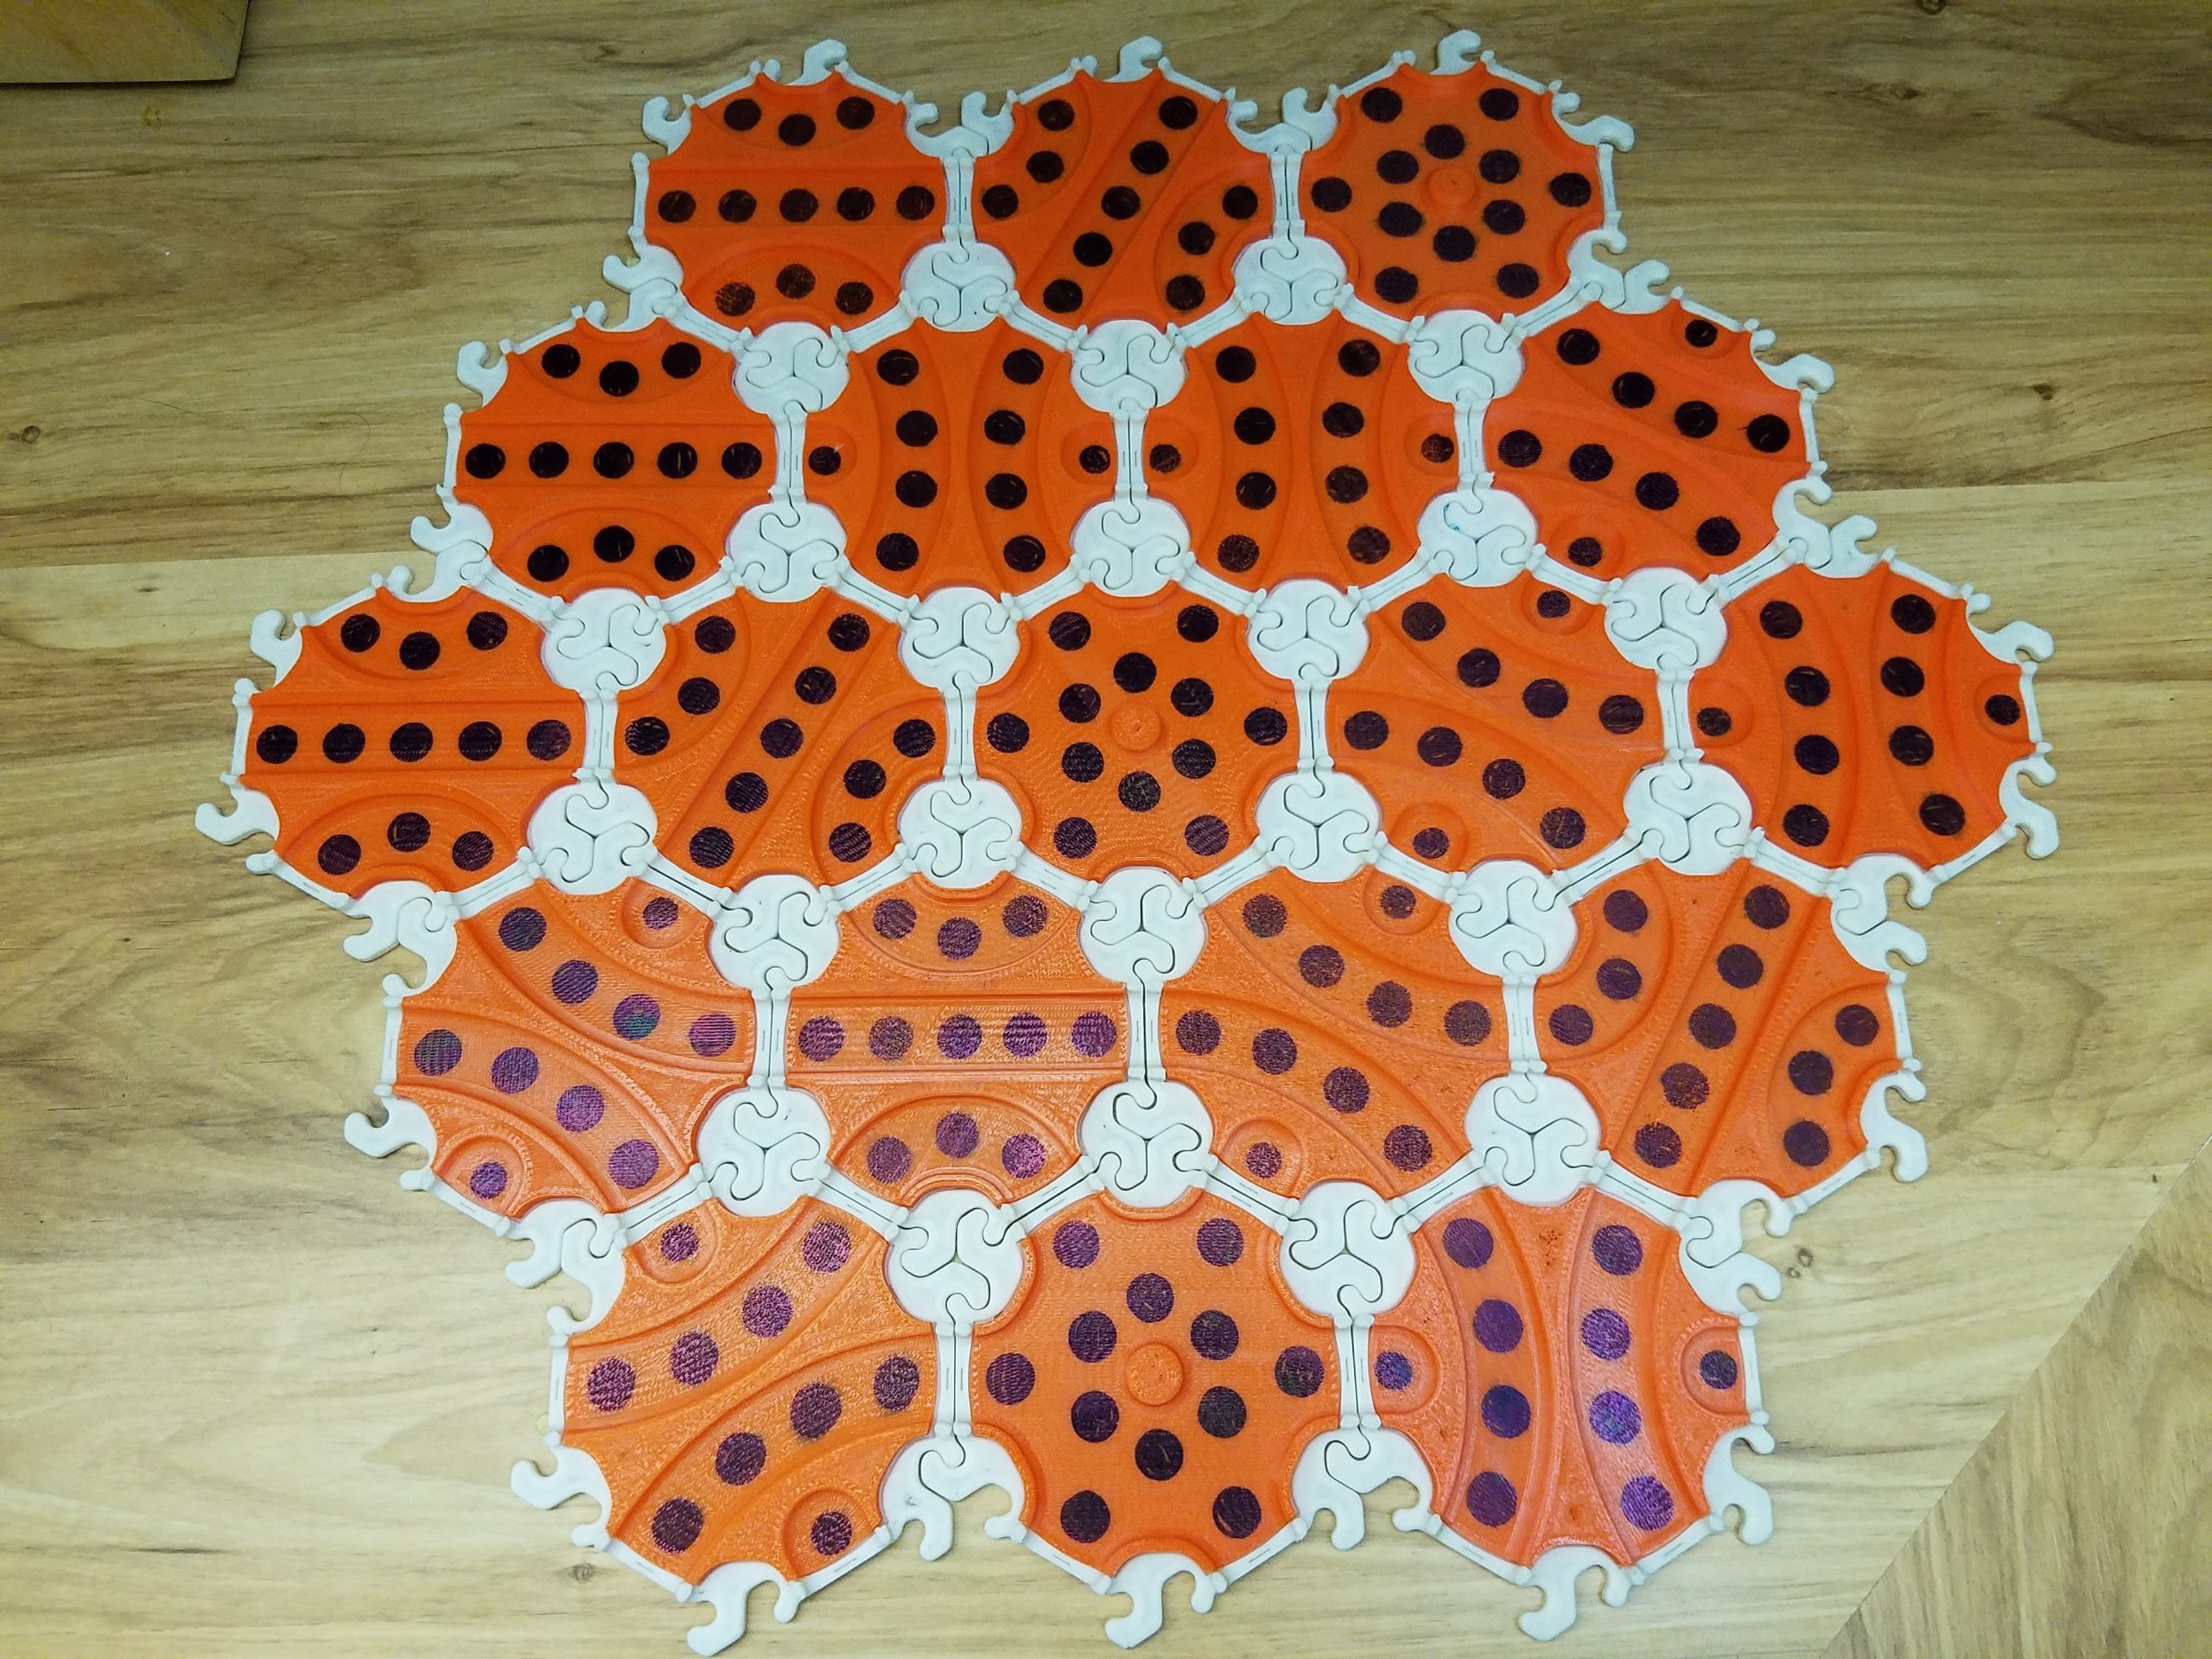
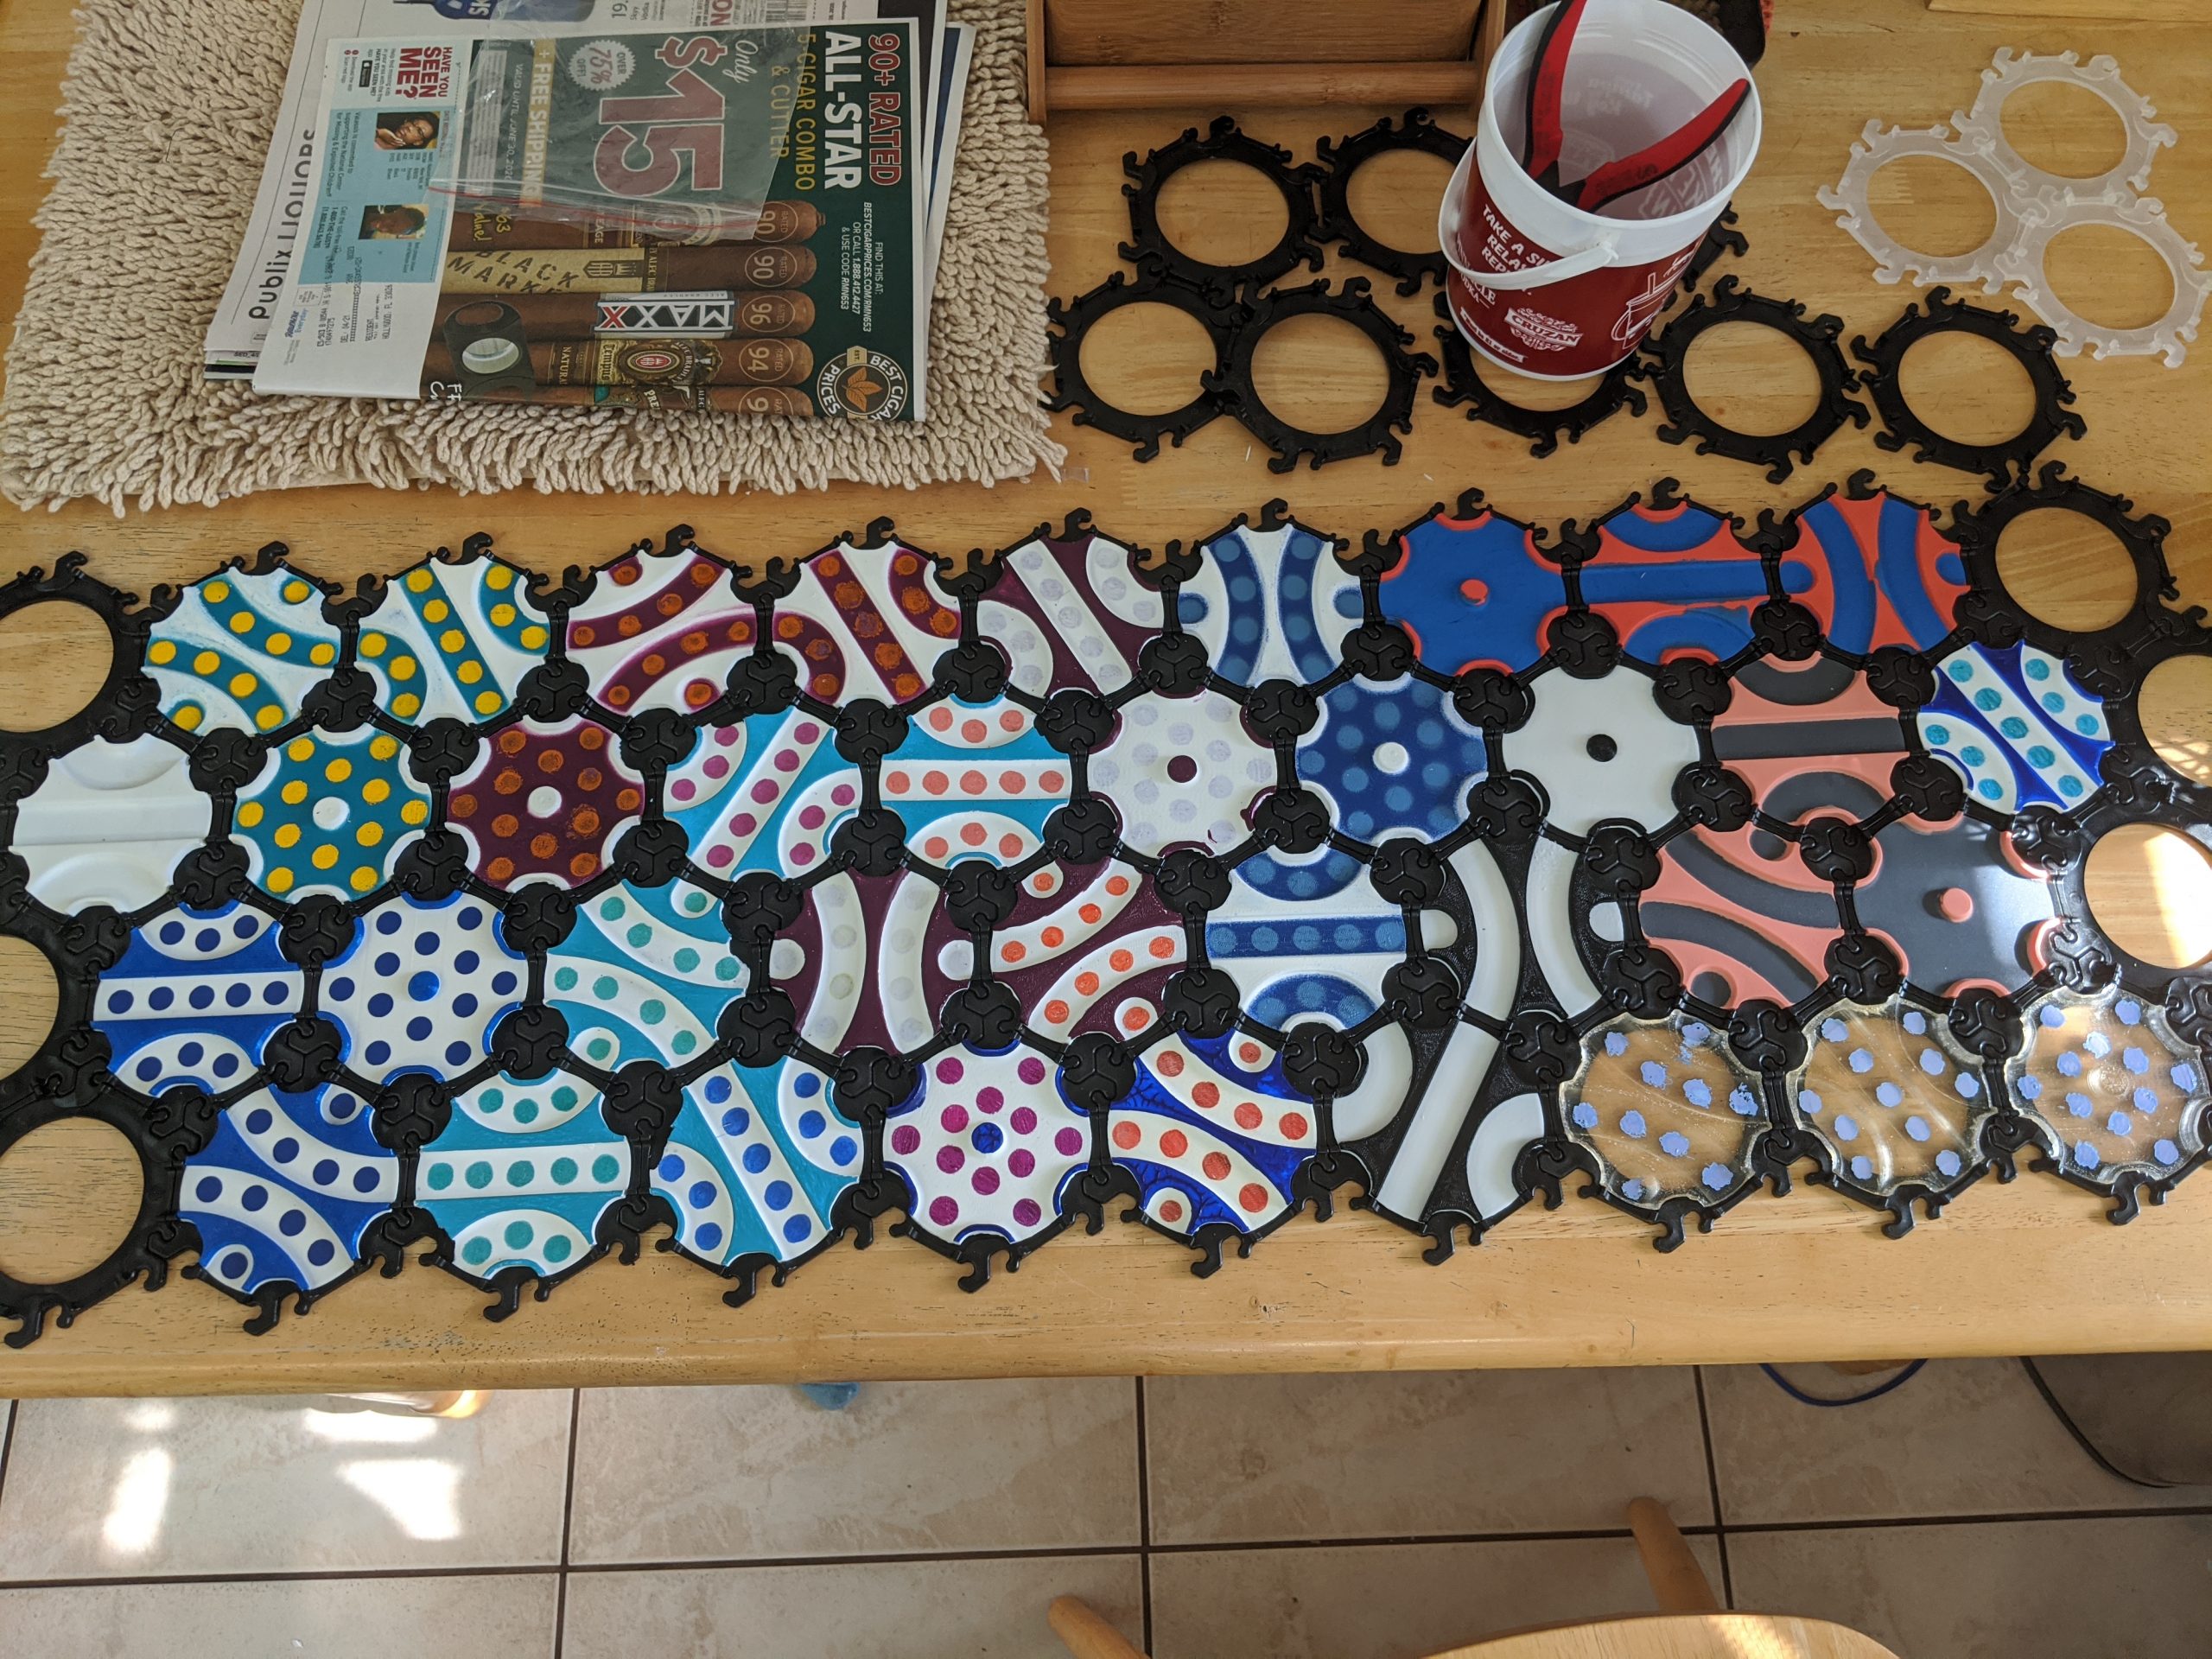
So we had to make the paths be a different color.
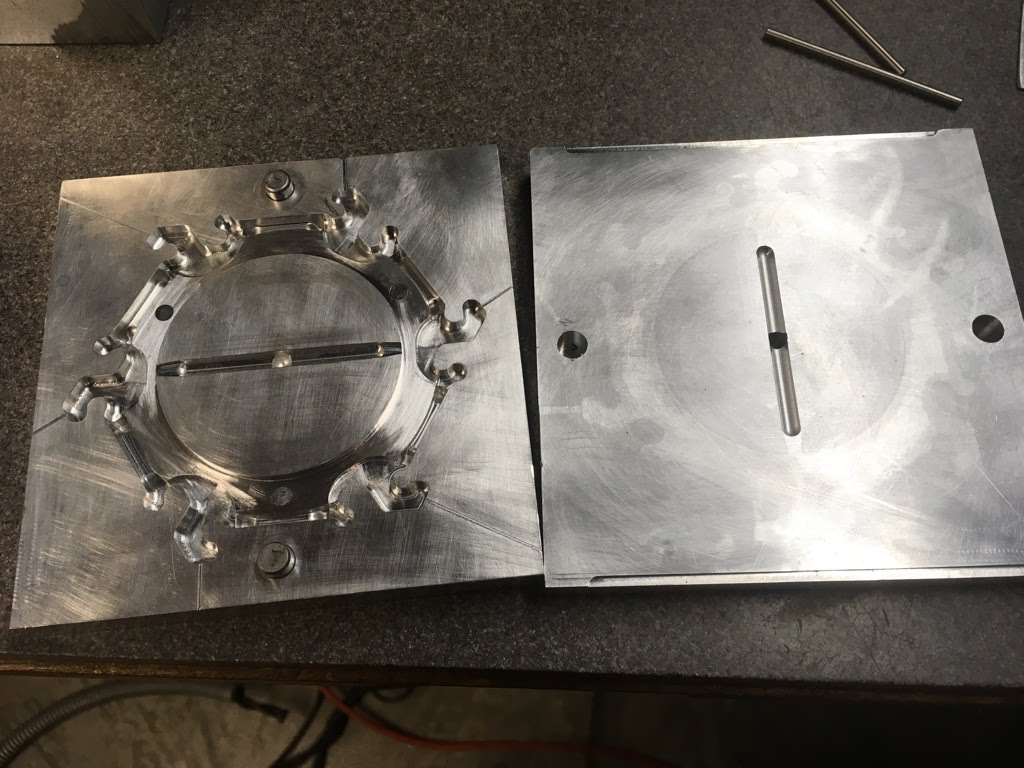
And because my 3D printer could only use one color at a time, I decided to make molds and make copies using liquid plastic.
Now, we just had to try out different colors and have our friends and family help me choose.
The most popular option was tones of blue with white frames.
So I made a full set with those colors, and used that version to start the patent application process
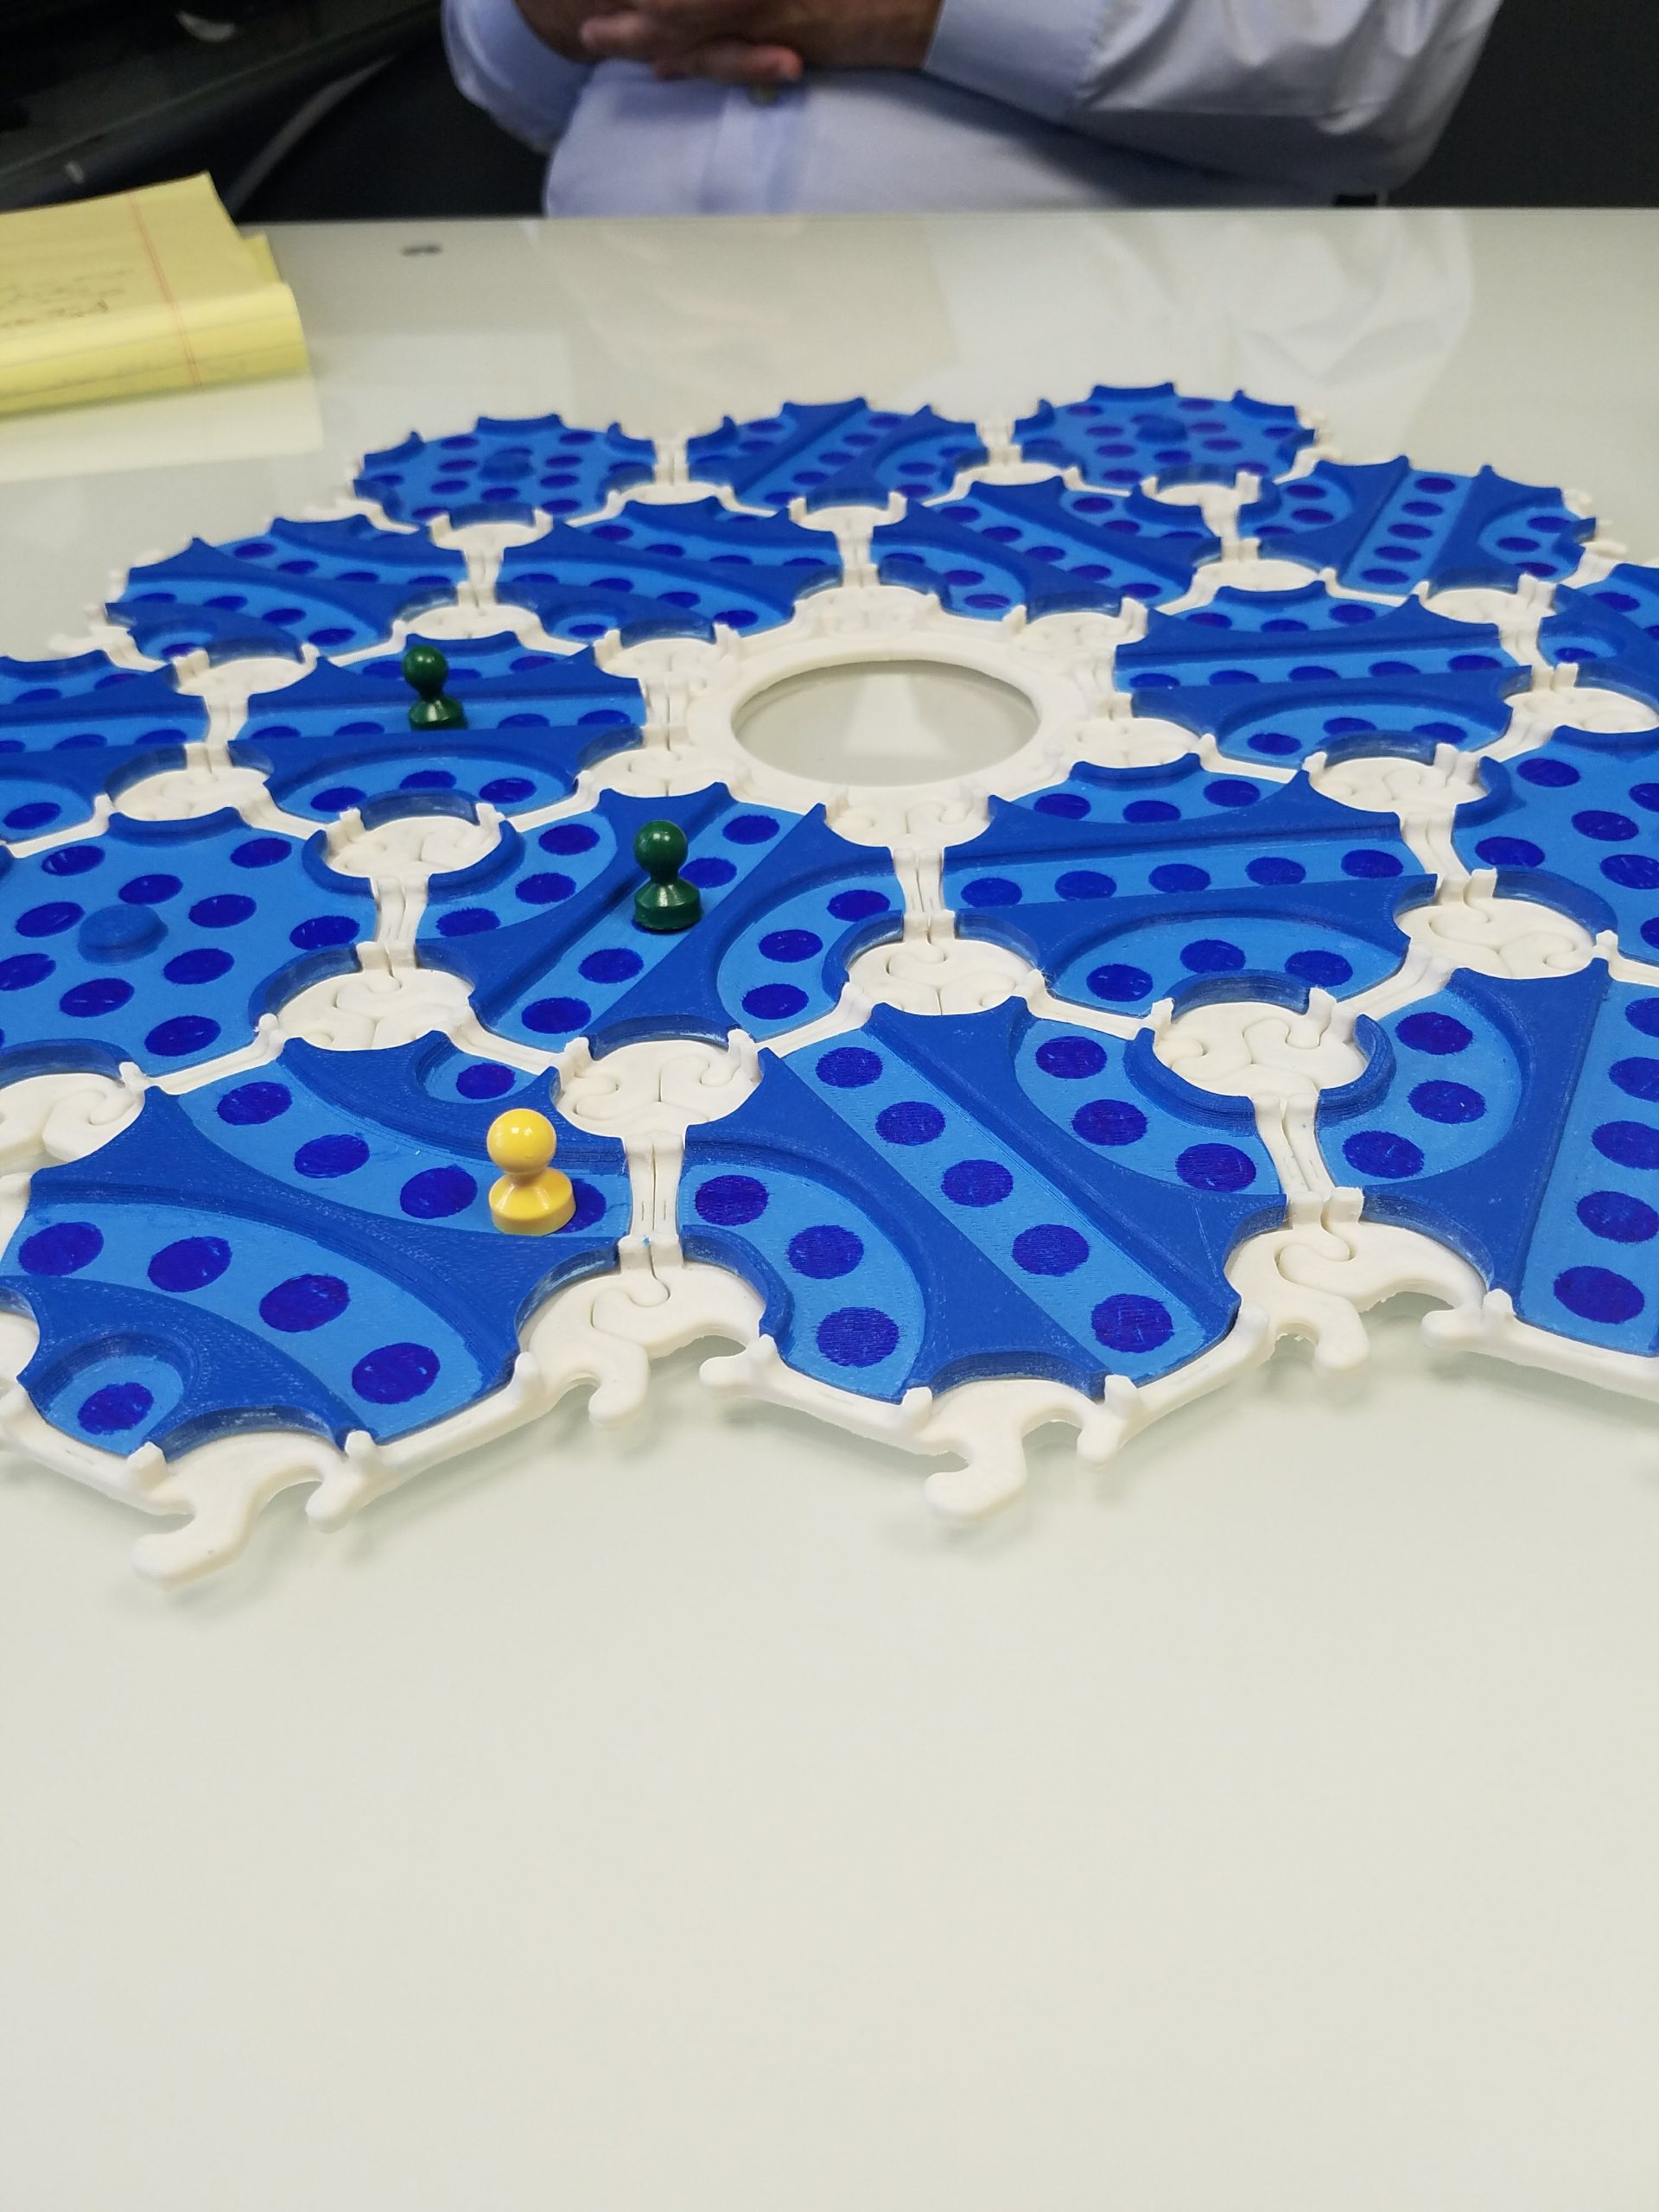

As I waited for the patent to be approved, I worked on the rules and board layout by playing with friends and family.
The game mode Detour -thank you Yami for the name suggestion- became the most popular mode from the very beginning.
Based on input from everyone, over many playing sessions, the board was set and the rules were written down.
Also, I kept playing with the colors, trying to find an easier way to produce them and still be eye pleasing and easy to see for everyone.
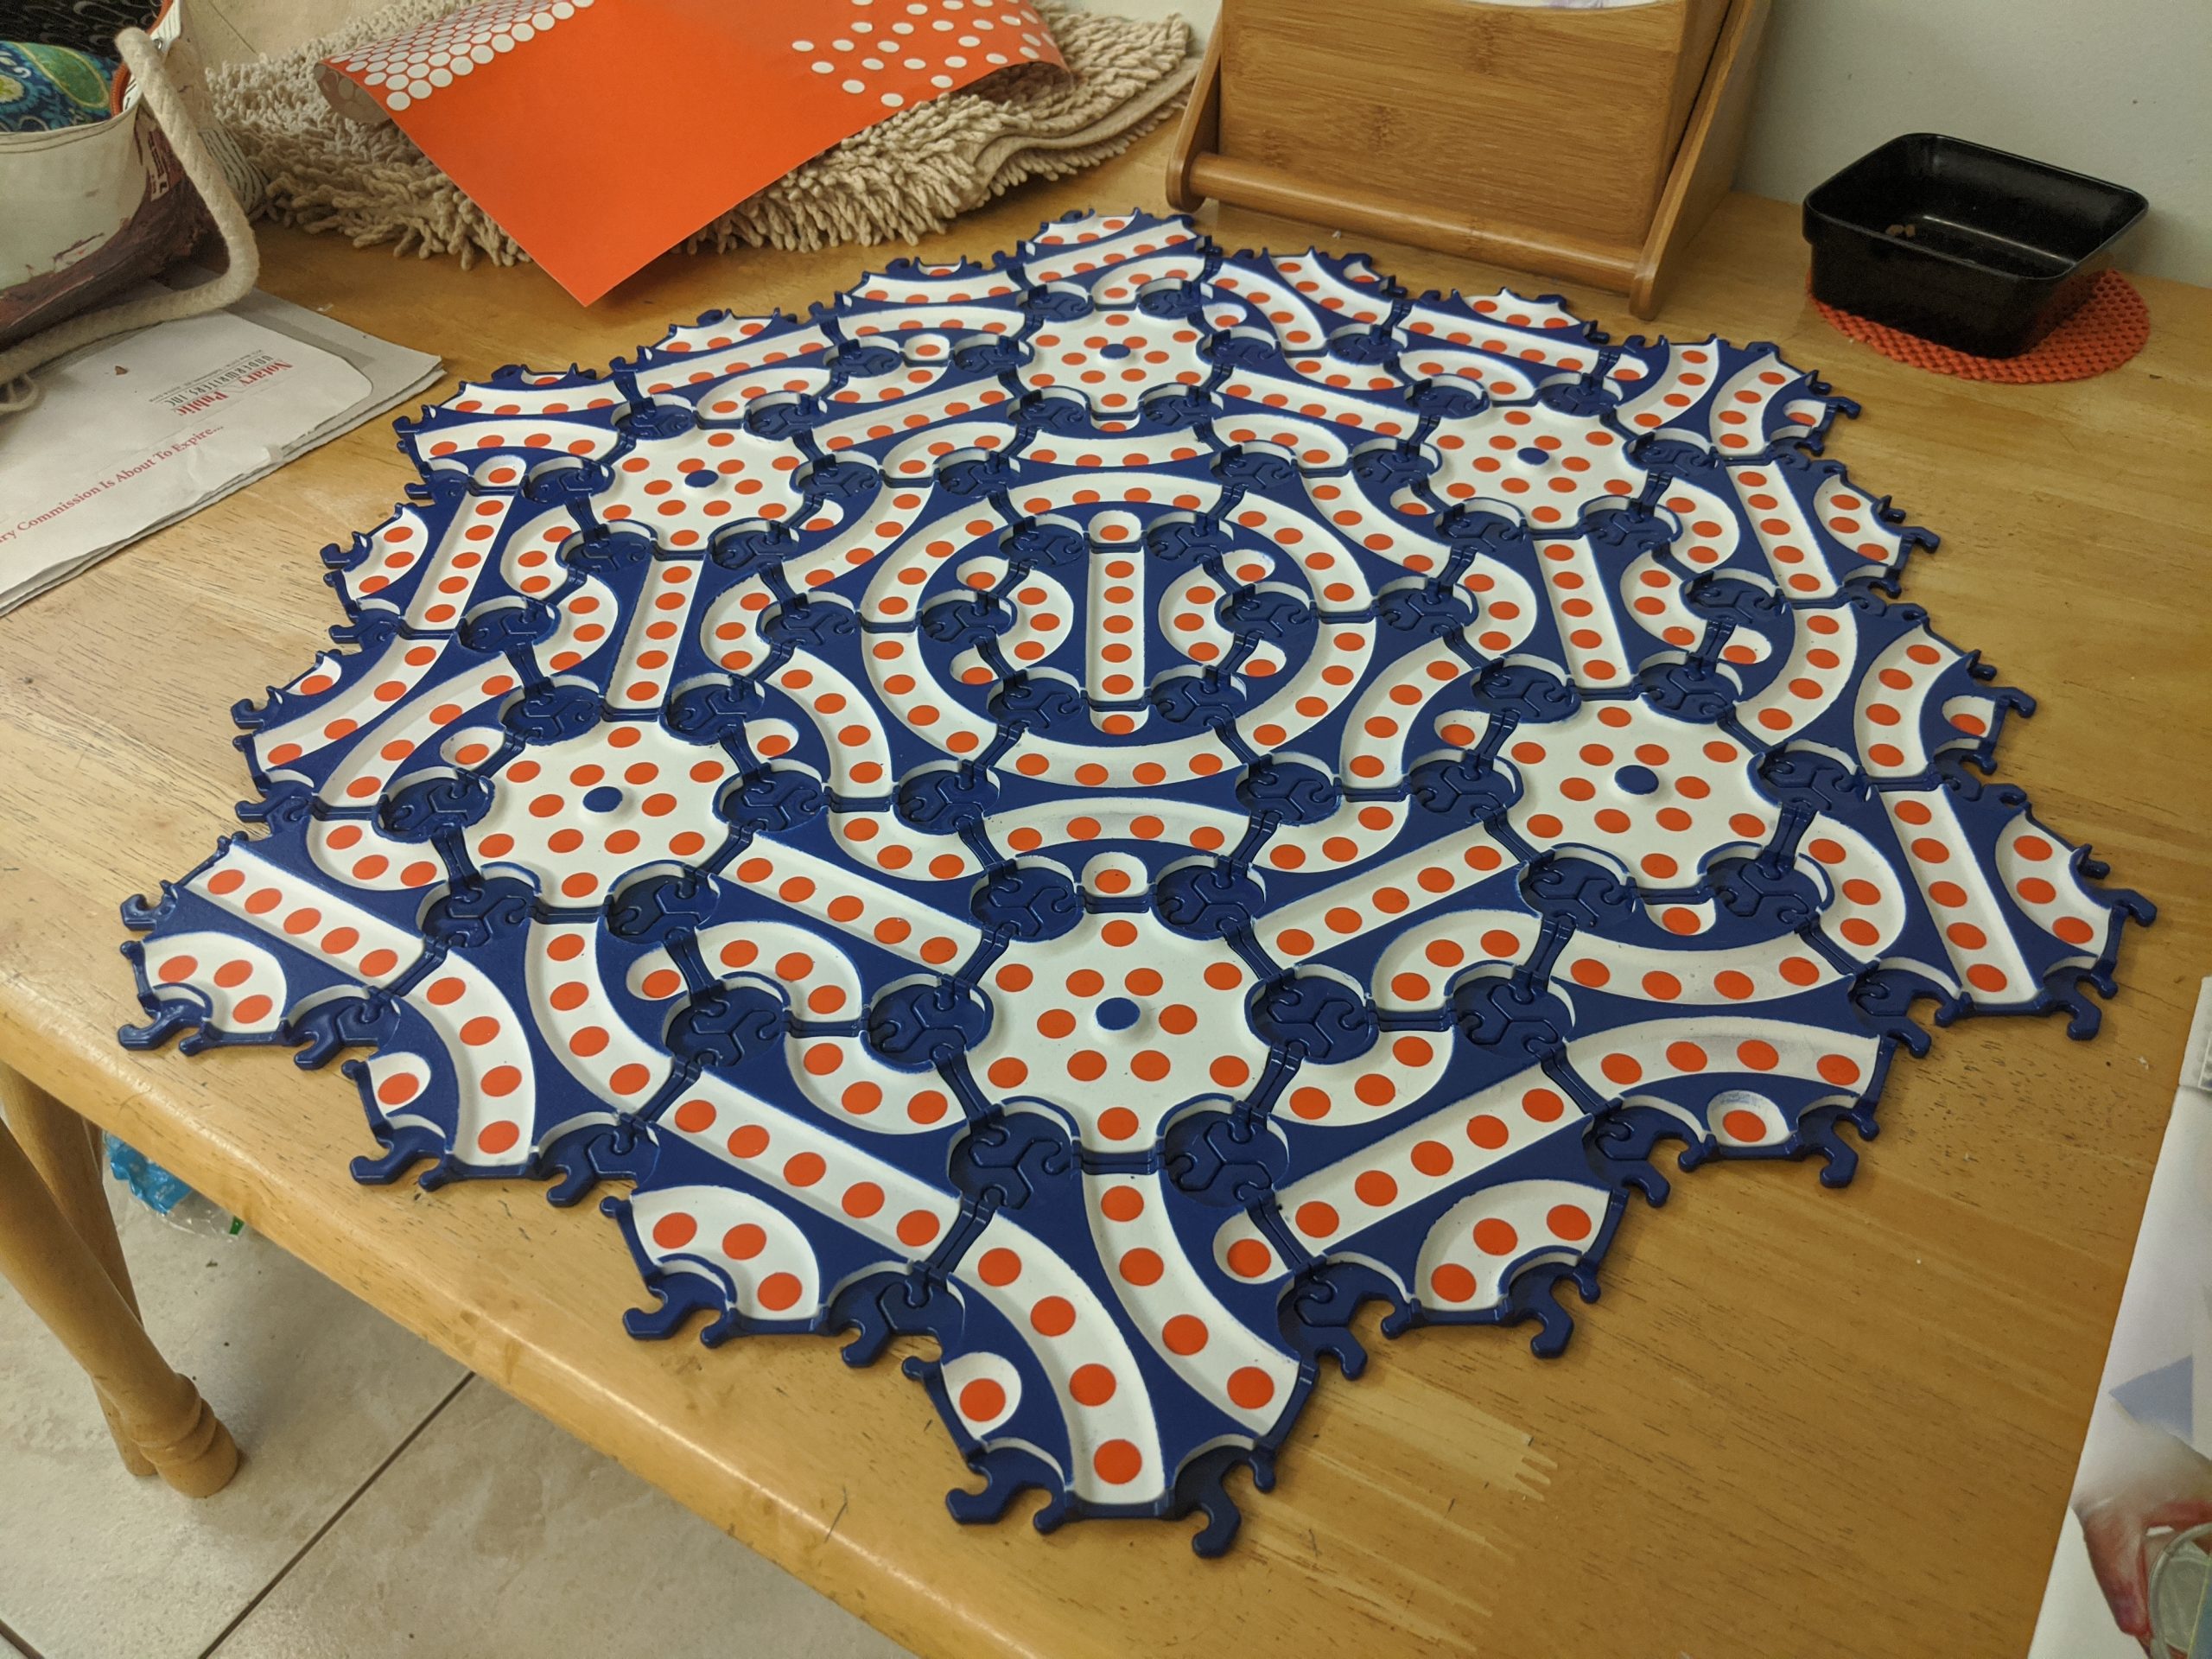
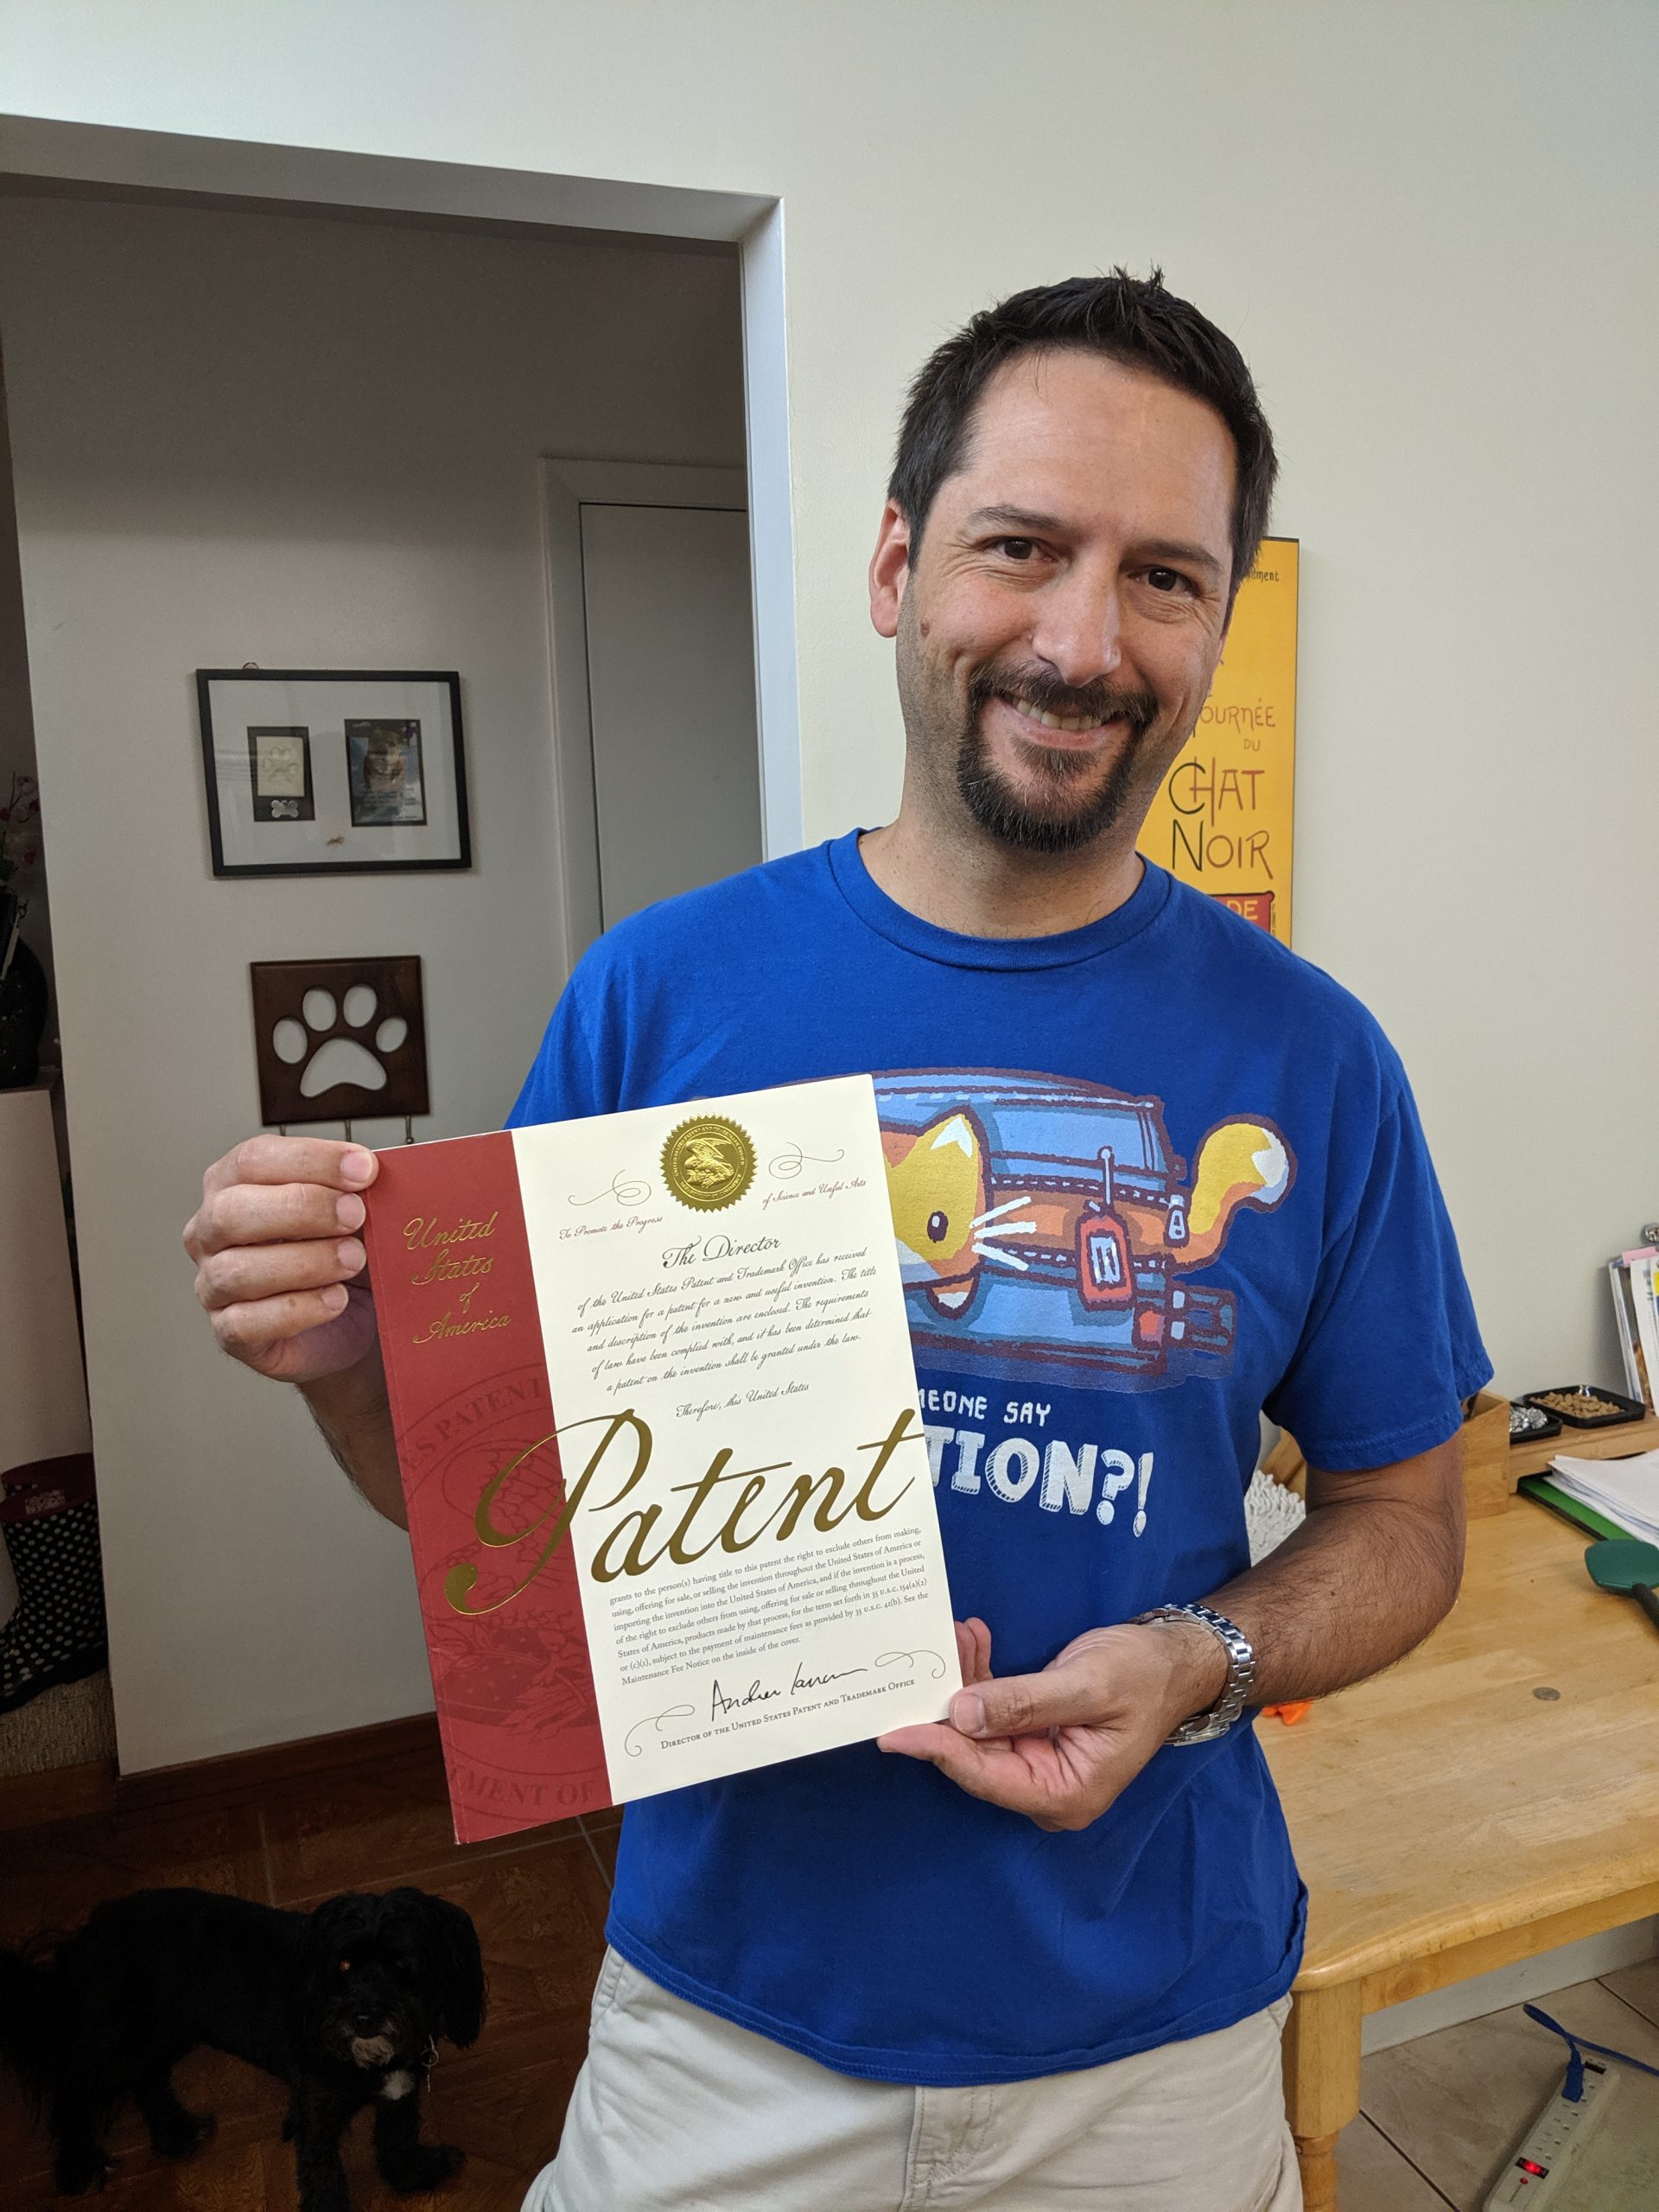
In 2019, After a long wait and a few rounds of comments, I got the patent!!!
I could now show the game to more people and get additional feedback.

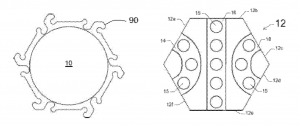
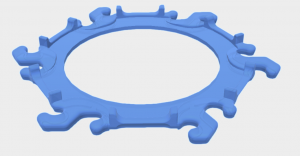
I could also start looking for manufacturers. Specially for the frames which were the most complicated part to cast at home.

For the tiles, I tried different colors, but there was always someone whose pawns got lost in the board due to having similar colors to either the stops or the paths.
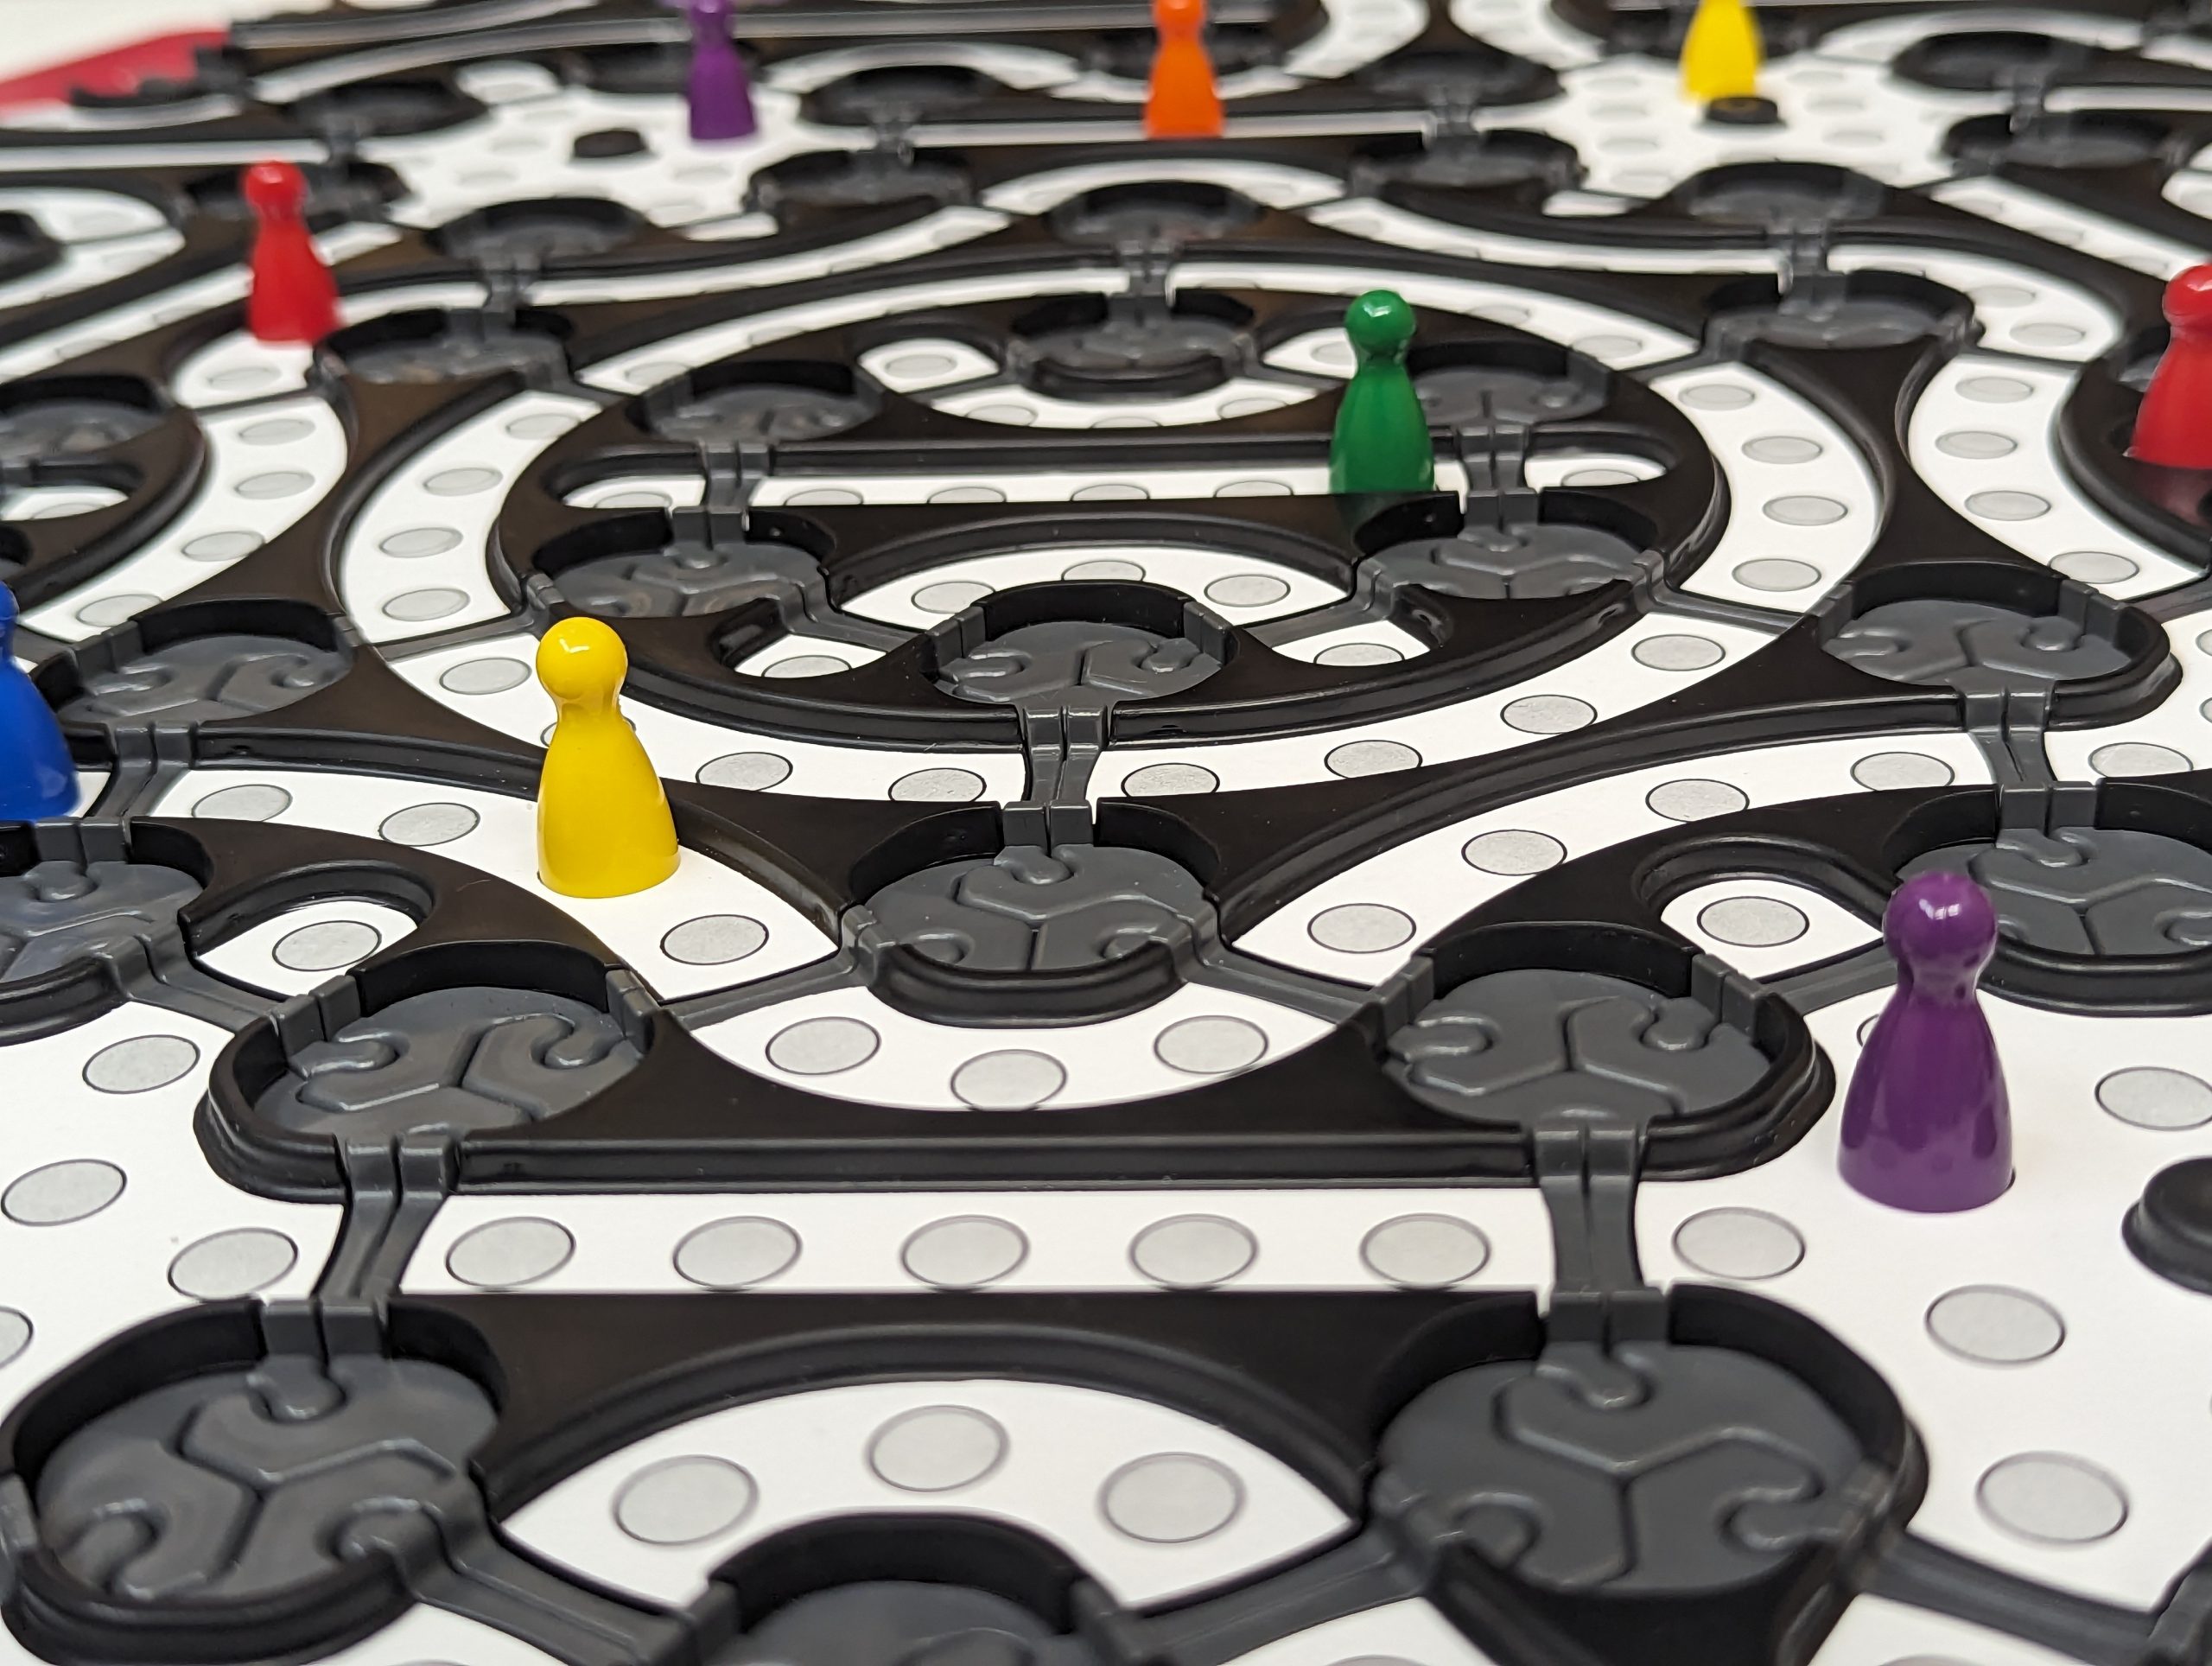
In order to be able to use common pawn colors for 6 players (red, blue, yellow, green, orange, and purple) I decided to try making the board grayscale.
I think it was a good decision, don’t you?
